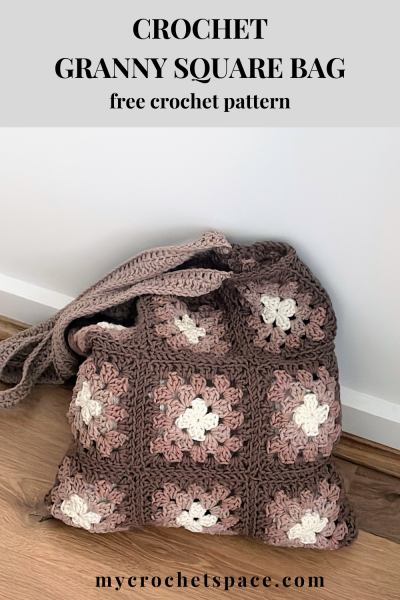
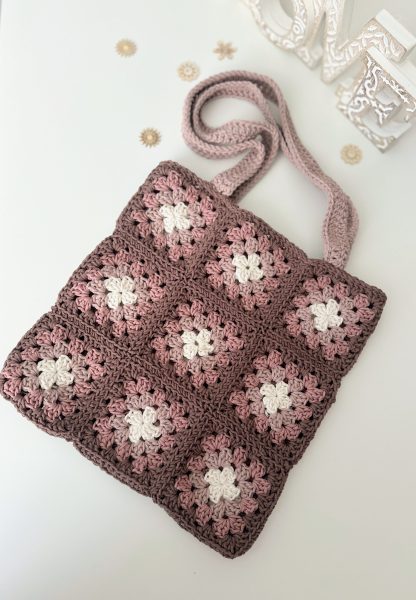
This granny square tote bag is simple, practical, and so much fun to make! This time, I went with a classic square shape, putting together 18 granny squares in four colours. It turned out into a cozy, everyday bag that I just love using!
This post may include affiliate links; view my disclosure policy for details.
Get the ad-free & print-friendly version with step-by-step photos and written instructions from my Etsy or Ravelry stores.
Unlike the Coastal Granny Square Bag I made for summer, this one is worked in neutral, earthy tones for a cozy autumn feel. The colours remind me of hot chocolate and cinnamon squares, hence the name :). I also used a cotton and acrylic blend yarn this time, which makes it even cozier.
What I love about granny squares is how much fun it is to play with colour combinations. I tried a few different versions with the same colours before settling on this one, and it always amazes me how much the look changes just by switching the order of the colours.
You can try the same and make a few versions to see which one you like best.
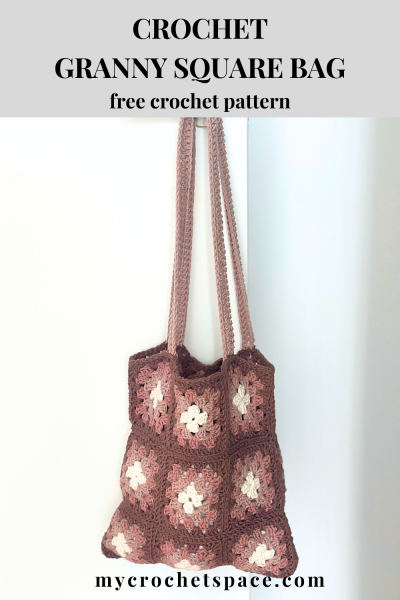
For this bag, I started with the lightest colour, white, in the centre and went gradually darker with each round, finishing with brown, which gives it a darker overall look.
If you’d like a lighter bag, use a lighter shade for the last one or two rounds and see how it changes.
I used a blend of cotton and acrylic for this bag, medium worsted #4 yarn.
Pin this to your Pinterest Crochet Board for later!
Granny Square Bag Pattern
Skill level
Intermediate.
Materials
- Yarn: Lionbrand Made with Love – The Cottony One in Lychee (you’ll only need approx. 43yds/40m), Mushroom (1 skein), Primrose (1 skein) and Hot Chocolate (1 skein).
- Crochet hook: 5mm (6.5mm for the chain to make handles)
- Scissors
- Yarn needle (for weaving in ends and seaming the squares together)
Abbreviations (US Terms)
- Ch = chain
- St = stitch
- Sl St = slip stitch
- DC = double crochet
- DC cluster = three double crochet stitches worked in the same stitch
Colour changes as you work each round from the centre of the square:
- C1 = colour 1 (Lychee)
- C2 = colour 2 (Mushroom)
- C3 = colour 3 (Primrose)
- C4 – colour 4 (Hot Chocolate)
Finished Size
Bag body measures 12.5″ x 12.5″ (32 cm)
Handle length when attached: 12″ (30 cm)
Gauge
One granny square (4 rounds) measures 4″ x 4″ (10cm x 10cm)
Pattern Notes
- The Ch 2 at the beginning of a round counts as the first stitch.
- One colour per round in each square.
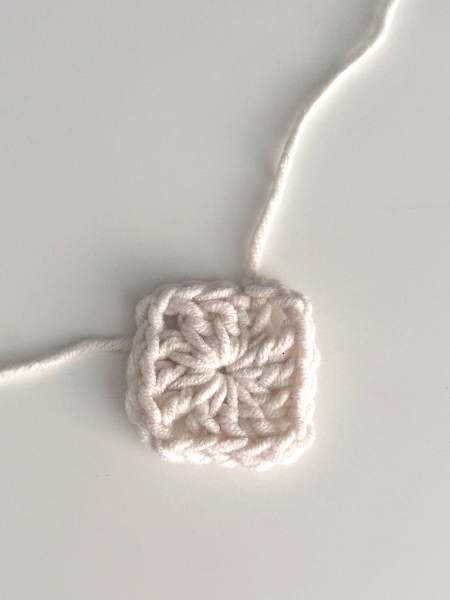
- Start each square with a magic ring. Alternatively, you can chain 3 and work all the DC clusters into the first Ch (see detailed photos for each step in the Simple Granny Square tutorial)
Instructions
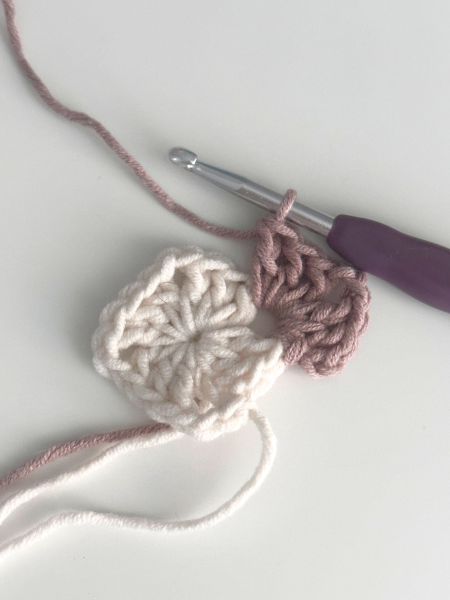
Round 1: With C1, make a magic ring and Ch 3. Work 2DC into the circle. *Ch 2 and work 3 DC into the circle. Repeat from * two more times. You should have four DC clusters in this round. Ch 2 and Sl st to the top of the first St in this round. Fasten off.
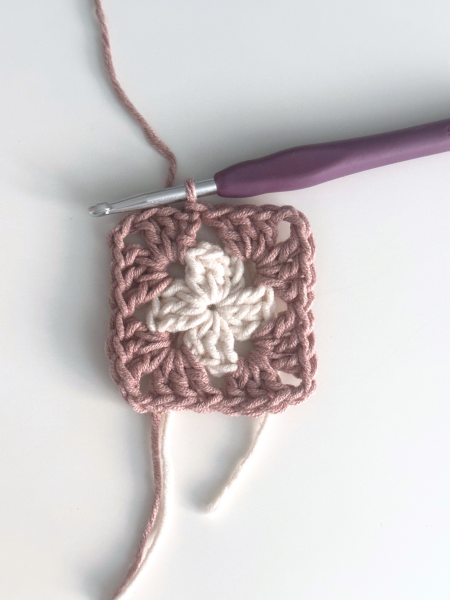
Round 2: Join C2 between DC clusters and Ch 3. Work two DC stitches in the same space. Ch 2, and work another DC cluster into the same space. Then, *work a DC cluster into the next space, Ch 2, and another DC cluster into the same space. Repeat from * around. Sl st to top of first St. (8 clusters). Fasten off.
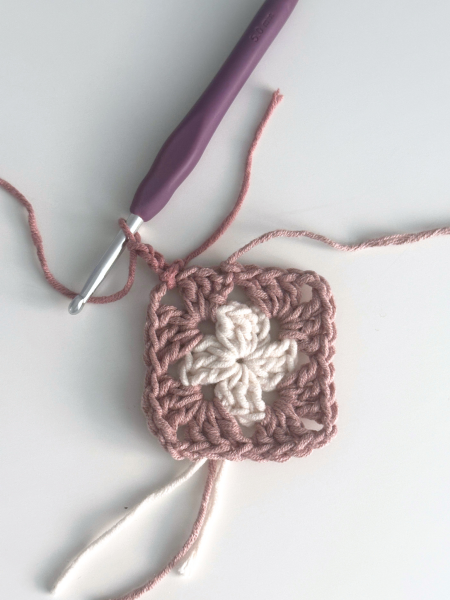
Round 3: Join C3 between DC clusters in one of the corners and Ch 3. Work 2 DC into the same space, Ch 2 and work another DC cluster into the same space. Continue around, working DC clusters into each space between the clusters. In the corners, work 2 clusters separated by Ch2 into the same space. Sl st to top of first St. (12 clusters). Fasten off.
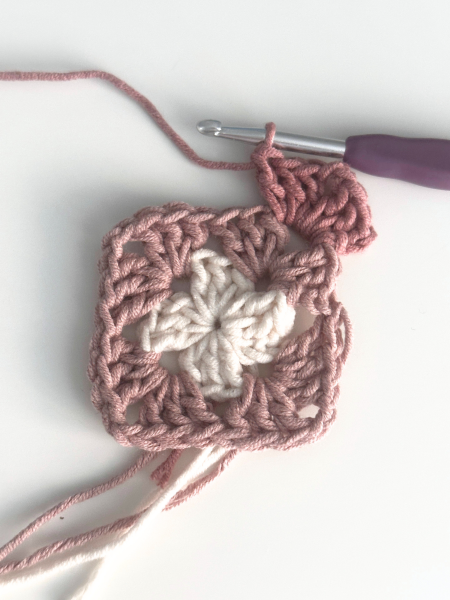
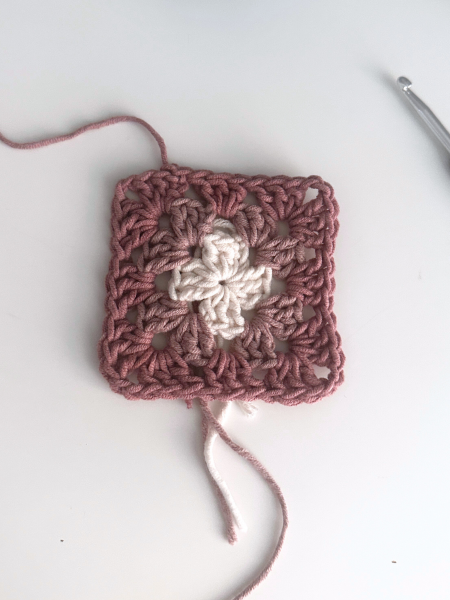
Round 4: Join C4 in one of the corners and repeat round 3 (16 clusters). Fasten off.
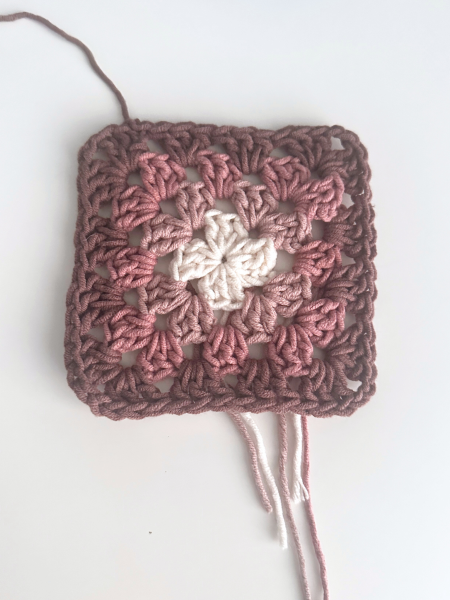
Make 18 granny squares.
Constructing the Granny Square Bag
- Lay out 9 squares for each side on a flat surface, arranging them 3 x 3 with the right side facing up.
- Take C4 yarn, cut a piece about 2.5 times the seam length, and thread it through your yarn needle.
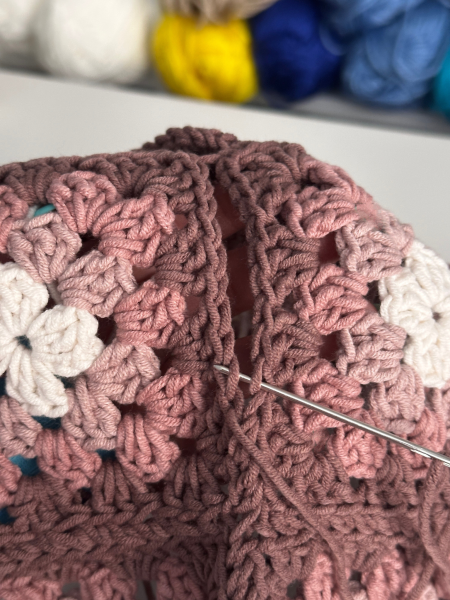
- Join all squares by working through the back loops only, using the whip stitch.
- Start from the corner stitches. Keep left and right stitches aligned. Don’t pull stitches too tight.
- After joining the 9 squares on each side, seam the two sides and the bottom of the bag using the same process.
Border: Still using the same colour (C4), join yarn at the top edge of the bag, Ch 1, then sl st in each stitch around. This helps keep the top edge from overstretching. Fasten off.
Handles
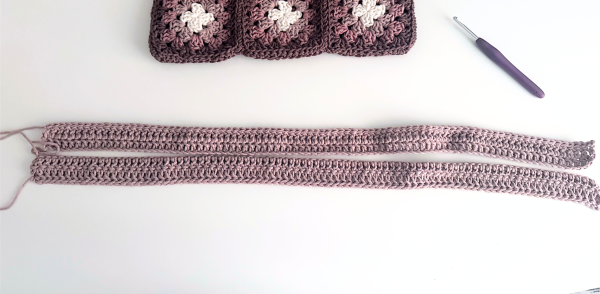
With a 6.5 mm hook and C2 (Mushroom), Ch 90(or your desired length).
Row 1: switch to 5mm hook. DC into the fourth Ch and each Ch across. (88 Sts here and in each row)
Row 2: Ch 2, DC into each St across the row.
Row 3: Ch 1, Sl st in first and each St across.
Make two handles.
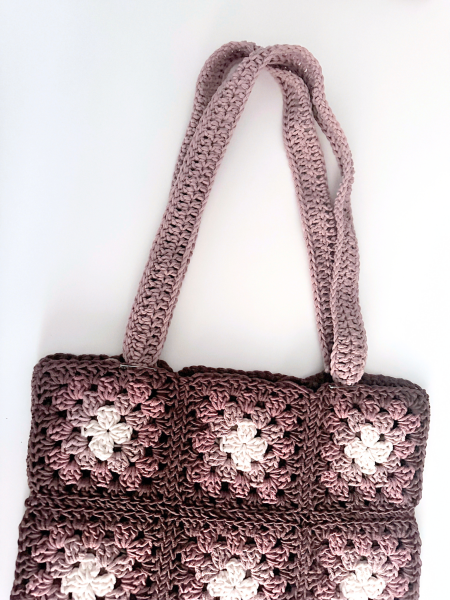
Position the handles on the bag as shown in the photo on the right and pin them with safety pins. Check that you’re happy with the placement and make sure the handles are not twisted. Sew one handle to each side of the bag from the inside.
Weave in all ends on the inside of the bag. Done!
Get the ad-free, beautifully formatted version of the Granny Square Bag pattern with step-by-step photos and written instructions from my Etsy or Ravelry stores.
I hope you like this simple granny square bag pattern! If you share your makes from my patterns on Instagram, don’t forget to tag me @my_crochet_space, I would love to see them!