Last updated: May 15, 2026
In the video demonstration below I’m showing how to change colours and carry the non-working yarn up inside of the crochet potholder so that you don’t have to cut yarn and weave in dozens of ends.
This is specifically for Thermal stitch potholder patterns. Using this technique you can hide all the strings of yarn that you’re not using inside the stitches. And I recommend using at least medium weight #4 (worsted/10 ply) yarn.
Scroll down for the pattern & video demonstration!
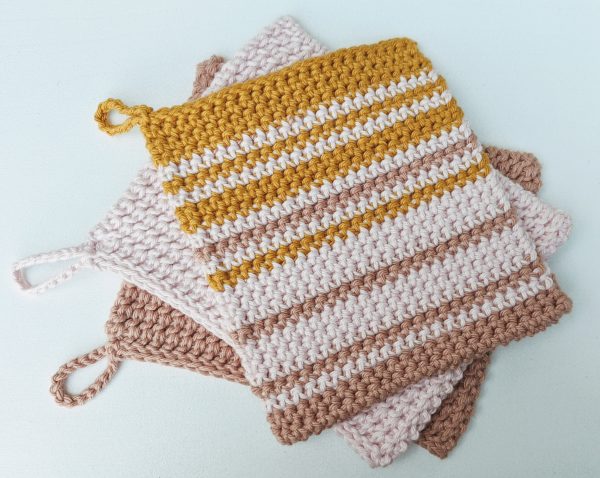
I have made quite a few potholders as I was experimenting with this stitch. And this pattern is using single crochet thermal stitch with stripes of different colours. Here I wanted to share with you how I changed colour and carried the non-working yarn up the rows without cutting it. It is a little different from the usual way of changing colour or carrying yarn as it’s a double thick stitch. And the best thing about this is that you can hide the yarn you’re not using inside the potholder very easily.
If you’re not familiar with this stitch, please go to Crochet Thick Potholder – Single Crochet Thermal Stitch and watch the video demonstration. You’ll learn not just the Thermal stitch but also how to start and finish it in a project.
And if you are familiar with this stitch, then you probably also know that you can do much more than just single crochet. I LOVE the texture of half double crochet thermal stitch. It’s a little more tricky as you have more loops on your hook to deal with, especially in the first couple of rows. But if you’re like me – not in a hurry and just enjoying the process of crocheting one stitch at a time, you’ll be rewarded with a rich texture and a deluxe crochet potholder!
Whereas the single thermal crochet is much easier and quicker to work with, in my opinion. The texture of this stitch is much smoother than the half double crochet. And, if you use multiple colours and get creative you can end up with something quite special. It would be a great idea as a housewarming gift or a Christmas gift – that’s just around the corner 🙂 It’s very quick to make and it’s definitely unique and useful!
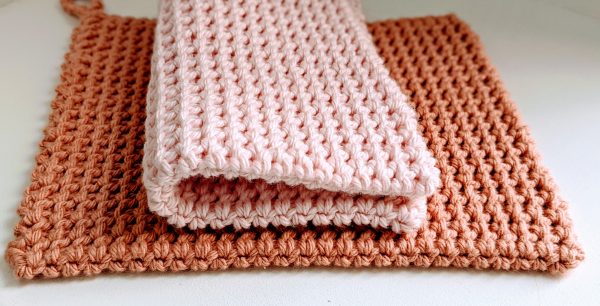
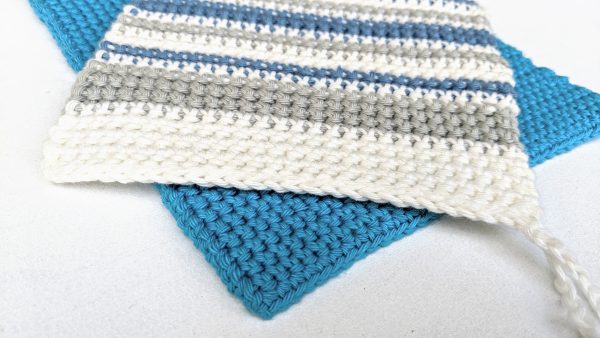
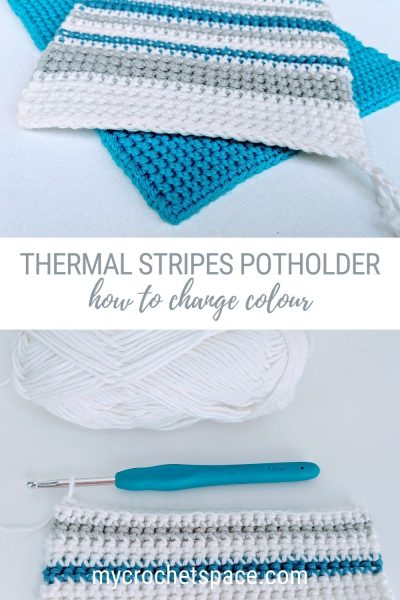
I made one in earthy and cozy autumn colours (pictured above) and another one in more cool winter colours (below). Choose any colours you like, some bright colours for spring or summer or whatever you have on hand.
Note: I highly recommend using at least medium #4 weight (worsted/10 ply) cotton yarn (for potholders 100% cotton) for this technique, that way you can hide the other colours easily. I have tried this technique using light worsted weight #3 (DK/8 ply) and you could see little glimpses of the other colour through the stitches. Whereas if you use a thicker yarn they are completely hidden.
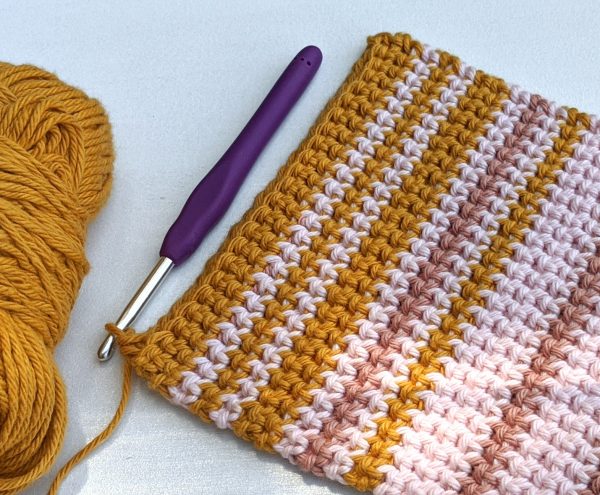
I changed colours randomly, with no particular order. I only planned to have the pink colour inbetween the other two as a contrasting colour. And as I was running out of both colours halfway through, I had to introduce another colour (gold) to make it a good size potholder. So I thought that starting with rose and slowly transition to gold would look quite interesting.
Note: if you’re not familiar with Thermal stitches, I recommend you take a look at the Thermal Single Crochet post and video tutorial first and then come back to see how to change colour in the video demonstration below.
Thermal Stripes Crochet Potholder Pattern
Skill level: Intermediate
Material
Yarn: 100% Cotton, medium weight 4/10ply ( I used Finch Fiddlesticks cotton yarn)
Hook: 5mm (H-8)
Dimensions
This potholder measures 17cmx17cm (6.5”x6.5”)
Abbreviations
Ch = chain
Sc = single crochet
St = stitch
Sl st = slip stitch
Th st = Thermal stitch = insert your hook in the back loop and in the parallel unworked loop from the row below. (Refer to video demonstration of the stitch in my Thermal single crochet potholder pattern)
Instructions
Ch 24
Row 1: SC in the second chain from the hook and across (23 total). Ch 1 and turn.
Row 2: Th St into the first and every St across the row. Ch 1 and turn.
Row 3-46: repeat row 2.
Loop & last row (row 47): Ch 15 and insert your hook under the back & front loops of the first stitch and the parallel loop from the row below. Sl St across the row to finish off. (see the detailed demonstration of the last row + loop in the Thermal Single Crochet video).
The number of rows in each colour are at random. You can follow the guide for colour change below or feel free to change colours as you feel inspired to do so!
Scroll down to watch the short video demonstration on colour change and carrying yarn below.

Those are my colour changes for the pink/gold potholder:
Rose: rows 1-4, 7-8, 15-16, 27-28
Pink: rows 5-6, 9-14, 17-22, 25-26, 29-30, 35-36, 39-40
Gold: rows 23-24, 31-34, 37-38, 41-46 + final slip stitch row
Note: It’s important to remember that this stitch is double-sided. When you complete one row, it won’t be visible from the other side yet. You need to complete two rows in order to see the new color on both sides. It’s almost like working in the round. To make both sides look the same, ensure that each color has the same number of rows on both sides.
Thermal Stripes Crochet Potholder – how to change colours video demonstration
Weave in the ends.
Done!
Hope you like this stitch & pattern!
6 replies on “Crochet Thermal Stripes Potholder”
Do you need to block potholders made with the SC thermal stitch?
Hi Teri, blocking is not necessary when using Thermal stitch due to the thickness of the fabric which keeps it flat. 🙂
This is the same stitch I used for all of my pot holders. It is very safe stitch to use. It’s very thick and I have never burned myself with anything I have made from this stitch. Thank you for posting it.
I agree! It’s my favorite for potholders because it’s so dense 🙂
Super demonstration. Thank you so much.
You’re welcome! 🩷