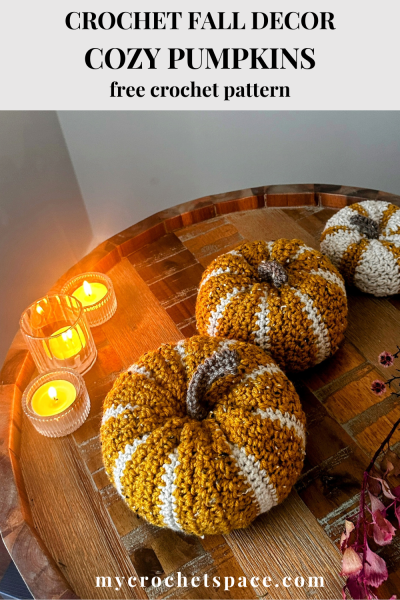
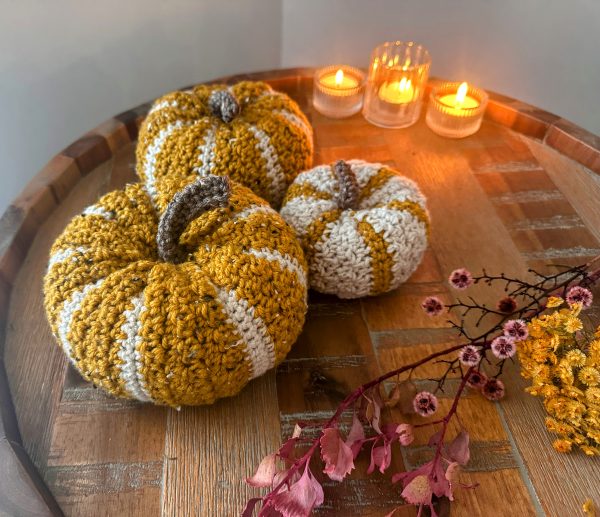
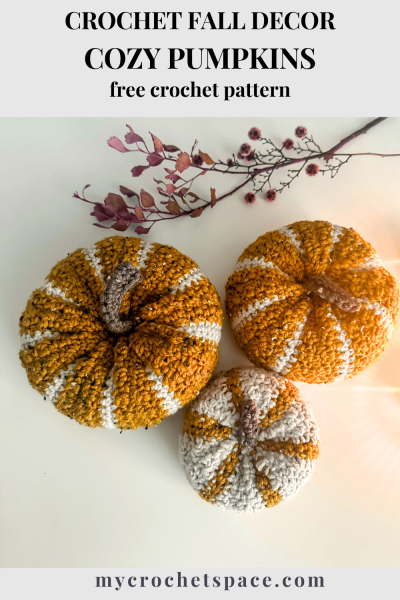
Pumpkins and autumn just go perfectly together, don’t they? I fell in love with this crochet pumpkin after making the large one, and of course, I couldn’t resist adding two smaller ones to create a cute little pumpkin family!
This post may include affiliate links; view my disclosure policy for details.
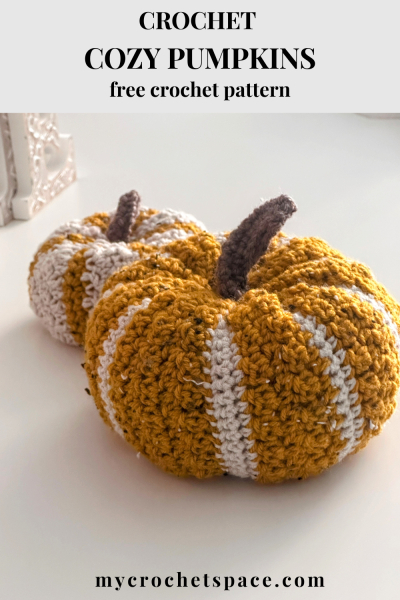
This crochet pumpkin pattern is a fun and cozy way to bring those warm fall vibes into your home, without any carving mess!
If you’re wondering how long it takes to make one, I finished one pumpkin in a single afternoon – and that included a couple of tea breaks! 🙂
Honestly, I’m not the best at keeping track of time, but I know it was finished the same day. It really depends on your speed and experience. You could make all three in one sitting or take your time. Either way, I enjoyed it so much that I wouldn’t mind if it took longer.
You’ll need a bit of fiberfill to stuff your pumpkins, but you can also reuse things you already have at home. Try the filling from an old cushion or pillow, some fabric scraps, or even leftover yarn to give them a new purpose.
I didn’t have anything at home I could repurpose, so I just picked up a pair of budget pillows from my local store (two for only $4!). I haven’t even used half of one yet, so there’s plenty of fiberfill left for future projects!
Besides the fiberfill, you’ll need some worsted-weight yarn, a 5mm crochet hook, scissors, and a yarn needle. For my pumpkins, I used Brava Tweed in Goldenrod and Mink, along with Color Theory in Moonbeam for the white stripes. I really love how the Brava Tweed gives the pumpkins a rustic, cozy look – it’s perfect for fall décor.
If you’d like to make them all with the same type of yarn, you can simply replace the Color Theory with Brava Tweed in Wren. Have fun mixing and matching colours and textures to suit your home and personal style – that’s what makes each crochet pumpkin unique!
Crochet Pumpkin Pattern
Get the ad-free & print-friendly version with step-by-step photos and written instructions from my Etsy or Ravelry stores.
Share or pin this pattern to your Pinterest crochet board for later!
Watch a video demonstration of the crochet pumpkins here.
Difficulty
Easy
Finished sizes (stem excluded)
Small 4″ wide, 2″ tall (10cm x 5cm)
Medium 5″ wide, 3″ tall (13cm x 8cm)
Large: 6″ wide, 3″ tall (16cm x 8cm)
Gauge
8 sts x 5 rows = 2″ (5cm) in Lemon Peel stitch
Abbreviations (US Terms)
- Ch = chain
- St = stitch
- Sl St = slip stitch
- SC = single crochet
- DC = Double crochet
- MC = main colour
- CC = contrasting colour
Materials
- Brava Tweed yarn – 1 skein in Goldenrod and Mink (approx. 9 yds/8 m) for the stem
- Color Theory yarn – ½ skein in Moonbeam (approx. 120 yds/110 m)
- Crochet hook, size 5 mm
- Fiberfill stuffing (enough for three pumpkins)
- Scissors and yarn needle
Pattern Notes
- If you’d like to make smaller or larger pumpkins, simply chain any odd number for the height, then crochet as many rows as you need until the width is about twice the height.
- Chain 1 at the beginning of a row is a turning chain and does not count as a stitch.
- When switching colours, always change in the last stitch of the row so you can work with the new colour in the next row.
- Instructions are given for three sizes – small, medium and large – listed in that order.
- Stitch counts at the end of each row are shown in parentheses ( ).
Instructions
With MC, ch 19 (small), 23 (medium), 29 (large) or any odd number.
Row 1 (MC): SC in second Ch from hook, *DC in next ch, SC in next ch, repeat from * across the row, ending with a DC in last St. (18, 22, 28)
Row 2-4: Ch 1, turn. SC in first st, *DC in next st, SC in next st, repeat from *, ending the row with a DC in last st. Join CC at the end of row 4.
Row 5-6 (CC): Ch1, turn. SC in first st and every st across the row. Switch to MC at the end of row 6.
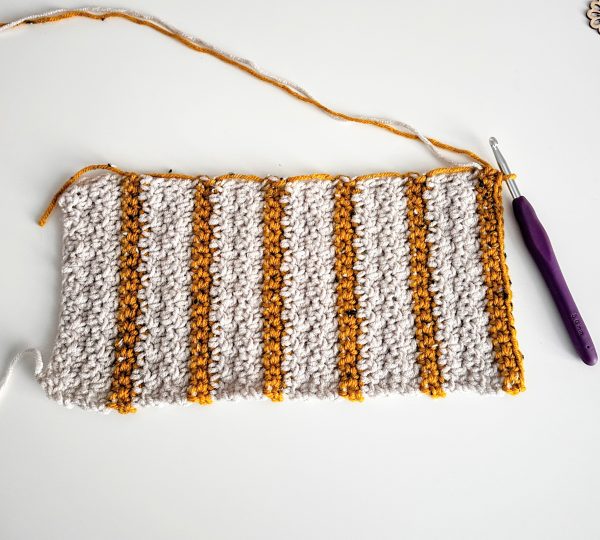
Repeat row 2 for 4 rows in MC, then row 5 for 2 rows in CC. Continue this sequence until you have 6 (small), 8 (medium), and 9 (large) stripes of each colour. The finished length should be approx. twice as long as the short side.
Once your rectangle is done, do not cut either yarn, as both will be used for sewing the sides (see instructions in Shaping the Pumpkin).
Shaping the Pumpkin
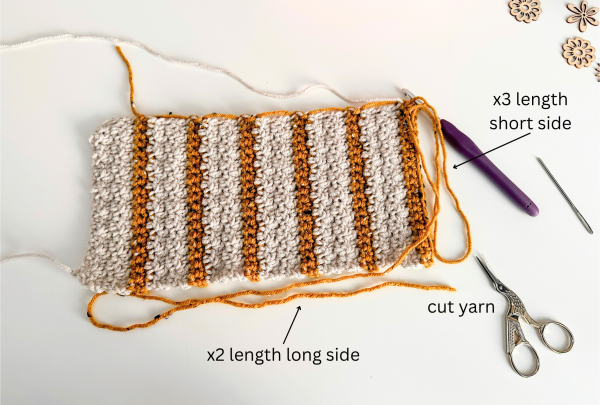
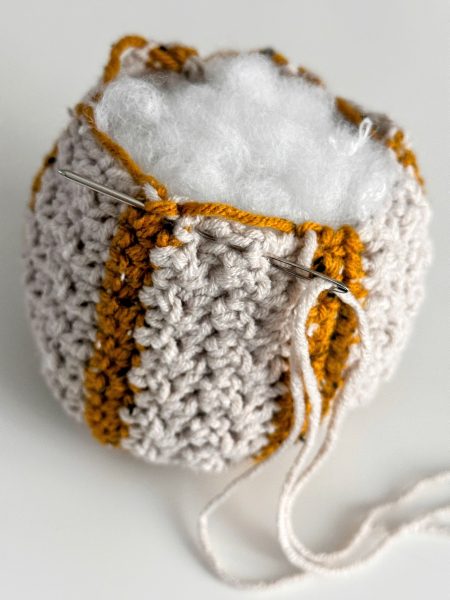
Fasten off, but before cutting the yarn, leave an extra-long tail to sew both the short and one of the long sides in one go. The yarn tail should be about 3× the short side plus 2× the long side. See photo below.
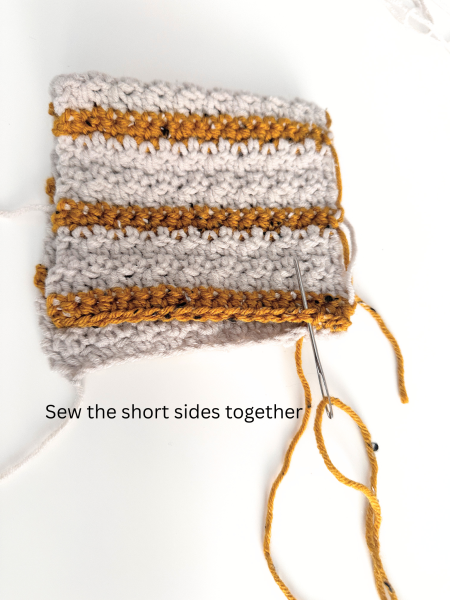
Fold the rectangle in half and thread the yarn needle. Then sew the short sides together with your preferred stitch. Be sure to catch every stitch along the edge so the seam is secure and there won’t be any gaps once the pumpkin is filled.
After seaming the short side, turn your work and continue along the long edge, working through one layer only. We’ll be gathering the stitches around the edge to close the opening. Insert your needle in and out every couple of stitches all the way around, then pull the yarn tight to close this side of the pumpkin.
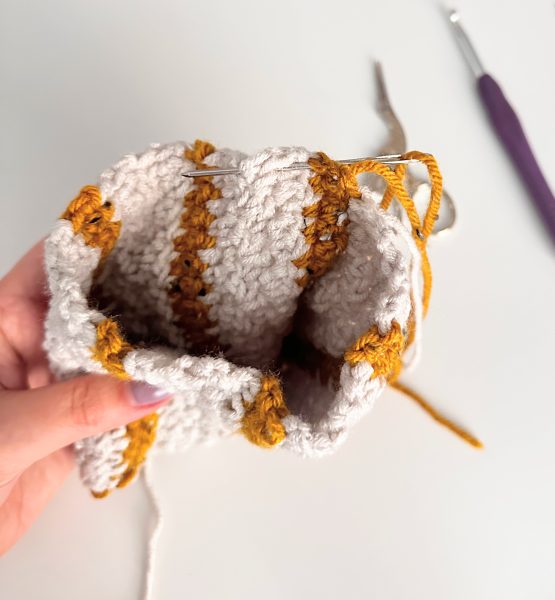
Once this side is pulled shut, sew back and forth in a few directions to make sure it’s completely closed. Tie a couple of knots, then cut the yarn.
Now take a look at the stitches and decide which side you want as the right side. The stripes look a little different on each side, so just choose the one you like best. There’s no right or wrong choice here. Leave the yarn tail on the inside (wrong side) of the pumpkin.
Now we go to the top part of the pumpkin. Cut the yarn that’s still attached on the other side, leaving a strand about twice and a half the length of the long side. We’ll use this yarn to gather and close the top part.
Fill the pumpkin with fiberfill, adding a couple of handfuls at a time. It should be well stuffed but not too full.
Make sure it stays soft enough so you can squash it down later for shaping, but also firm enough to hold a nice shape.
Thread the yarn needle and gather the top part the same way you did for the bottom. Pull the yarn tight as you go, being careful not to break it. Once the opening is closed, secure it by stitching back and forth in different directions. Do not cut the yarn yet.
After the top opening is closed, with the yarn still attached, it is time to shape the pumpkin.
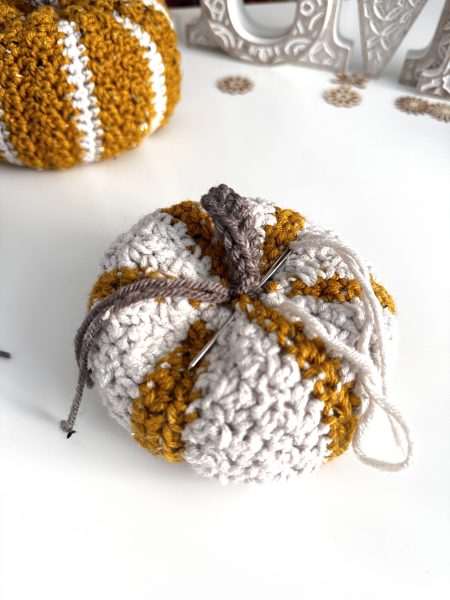
Insert the needle into the centre of the closed hole at the top and push it all the way through to the centre of the closed hole on the bottom. Gently pull the yarn to bring the top and bottom slightly together. You can adjust how much you squash it down, depending on the look you prefer for your pumpkin.
Hold it in place and make a few stitches the same way, passing the needle through the pumpkin from top to bottom and back to top three or four times until it stays in shape. Secure the yarn with a couple of knots, then cut the yarn, leaving the yarn tail inside the pumpkin.
Stem
With the Mink colour, Ch 7 (small), 9 (medium), 12 (large).
Row 1: SC in second Ch from hook and every stitch across (6, 8, 11 in every row).
Row 2-3: Ch 1, turn. SC in first and every St across.
Row 4: Slip stitch the long sides together, working into each stitch across the row. Fasten off and leave a long tail to sew the stem onto the pumpkin.
Using the yarn tail from the stem, sew the stem securely to the centre top of the pumpkin. Tuck all remaining yarn tails inside the pumpkin with a yarn needle or a small crochet hook. Done!
I hope you like these cute crochet pumpkins! You can get a printable ad-free version of this pattern from my Etsy or Ravelry store.
Watch a video demonstration for this crochet pumpkin pattern.
If you’re looking for more fall crochet ideas, check out the free patterns below.