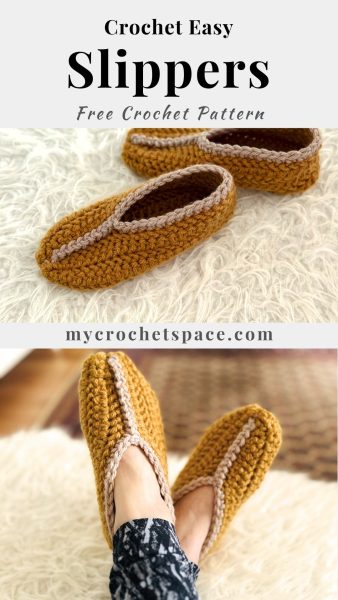
As the weather gets cooler, it’s the perfect time to whip up some cozy crochet accessories! I designed these crochet slippers to be easy enough for advanced beginners, and they turned out super comfy and toasty warm.
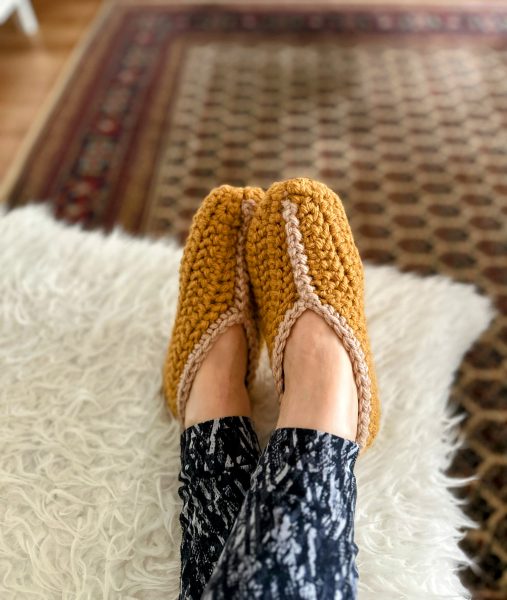
Here’s what you need to know about this pattern: it’s made from a simple rectangle! I made the toe part slightly narrower in width, so it’s not too bulky when you close it around the toes. I also used a different colour to join the two sides on top and for the border around. I think it creates a more interesting look. But if you prefer to have just one colour, it’s up to you!
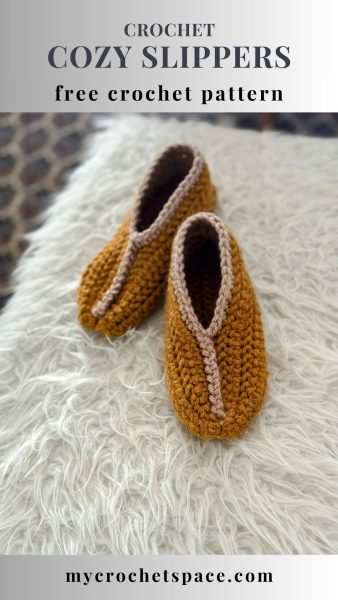
Crochet Slippers – Easy Free Pattern
This post may include affiliate links; view my disclosure policy for details.
Scroll down for the free pattern, or get the ad-free & print-friendly version with step-by-step photos and written instructions from my Etsy or Ravelry stores.
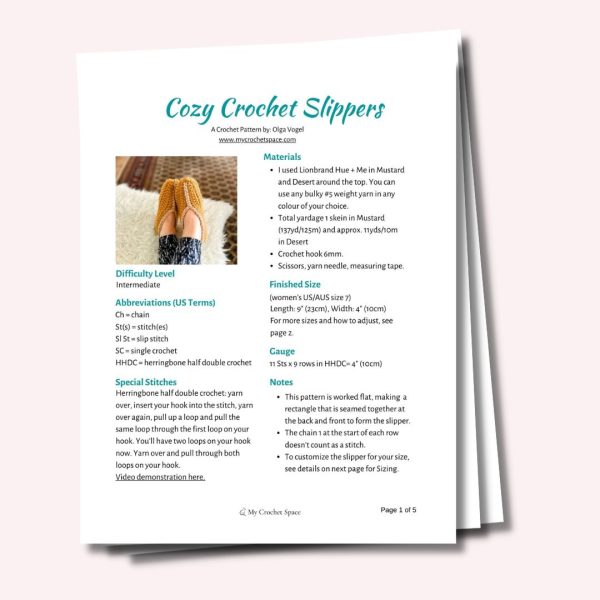
Cozy Slippers Crochet Pattern PDF
Or pin this crochet pattern to your Pinterest Crochet Board for later!
Difficulty
Intermediate. You’ll need to know how to crochet the Herringbone half double crochet and basic sewing skills.
Materials
- I used Lionbrand Hue + Me in Mustard and Desert around the top. You can use any bulky #5 weight yarn in any colour of your choice.
- Total yardage 1 skein in Mustard (137yd/125m) and approx. 11yds/10m in Desert.
- Crochet hook 6mm.
- Scissors, yarn needle, measuring tape.
Finished Size (women’s size 7)
Length: 9″ (23cm), width: 4″ (10cm)
Gauge
11 Sts x 9 rows in HHDC= 4″ (10cm)
Abbreviations (US Terms)
Ch = chain
St(s) = stitch(es)
Sl St = slip stitch
SC = single crochet
HHDC = herringbone half double crochet (yarn over, insert your hook into the stitch, yarn over again, pull up a loop and pull the same loop through the first loop on your hook. You’ll have two loops on your hook now. Yarn over and pull through both loops on your hook.)
Crochet Slippers Pattern Notes
- This pattern is worked flat, starting with a rectangle that gets seamed together at the back and front to form the slipper.
- The chain 1 at the start of each row doesn’t count as a stitch.
Sizes:
To adjust the slippers to your size, measure your foot from heel to toe. For instance, a size 7 (US/AUS) foot is about 9 inches, so your chain should be 9 inches long. Stretch the chain slightly when measuring, and remember, the slippers will stretch with wear, so make sure it’s a snug fit.
The exact number of chains and rows below is provided if you’re using the specified yarn, hook, and gauge. You can also test the length by placing your foot on top of the rectangle as you work. Keep in mind, if you use different yarn, a different hook, or your gauge varies slightly from mine, the slipper size will also change.
Size 6 = Make a rectangle that is 8.5 inches long and 7 inches wide. (Chain 25 / work 16 rows)
Size 7 = Make a rectangle that is 9 inches long and 7 inches wide. (Chain 26 / work 16 rows)
Sie 8 = Make a rectangle that is 9.75 inches long and 7 inches wide. (Chain 28 / work 16 rows)
Size 9 = Make a rectangle that is 10.25 inches long and 7.5 inches wide. (Chain 29 / work 17 rows)
Crochet Slippers Instructions
Leave a long yarn tail (approx. 20 inches) and Ch 25 (for size 6), or any number of chains for the length of your foot, see Sizes above.
Row 1: work a SC into the second St from your hook and the next 2 stitches, work a HHDC into each stitch across the row. (24 stitches total, in every row)
Row 2: Ch 1, turn. Work a HHDC into the first St and each St across the row until you have 3 stitches left, work a SC in each of the last 3 stitches.
Rows 3: Ch1, turn, SC into the first 3 stitches, HHDC across the row.
Rows 4-16 or your desired width: repeat rows 2 and 3. Fasten off and leave a long tail for seaming.
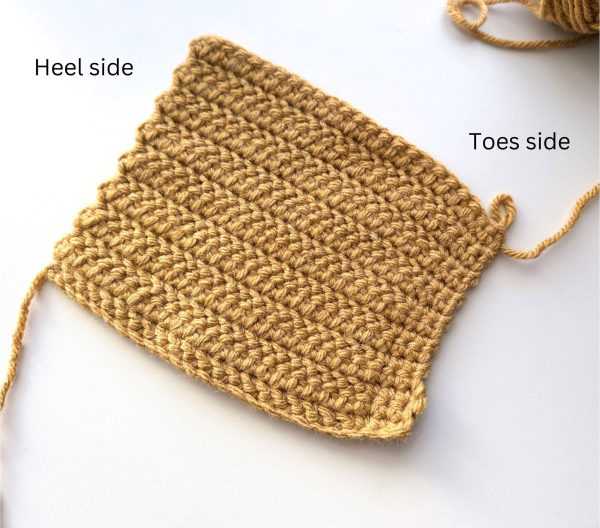
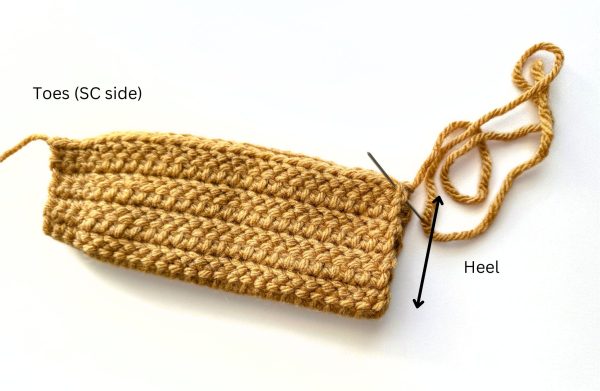
You’ll end up with a rectangle where one side is slightly narrower—this will be the toe part of the slipper. Now, check out the next step to see how to shape it into a slipper!
Assembling
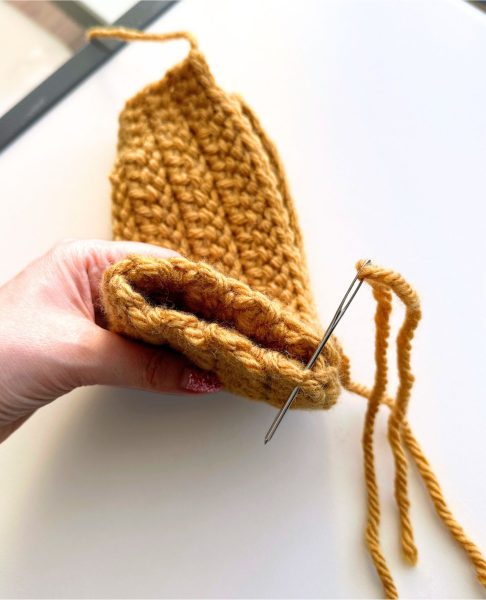
Heel: Fold the wider part (the HHDC side) of the slipper in half. Thread your yarn needle (either with the yarn tail, if it’s on this side and long enough for seaming, or with a new strand of yarn) and start seaming by going through the outer stitches on each side, one after the other, to join them neatly. Once you’re done, fasten off and weave in the end.
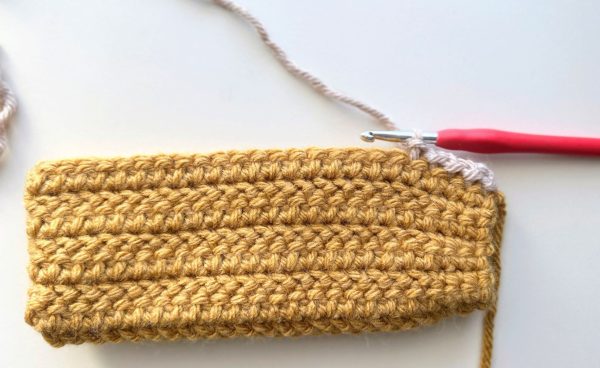
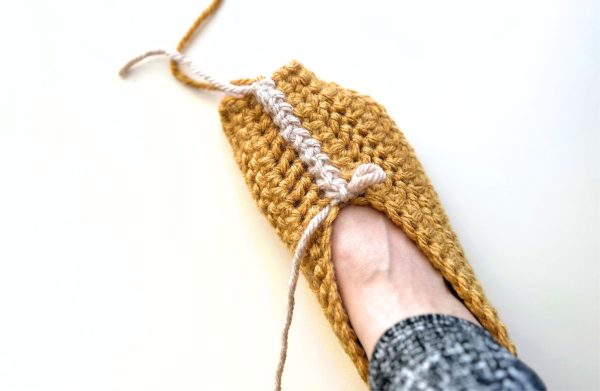
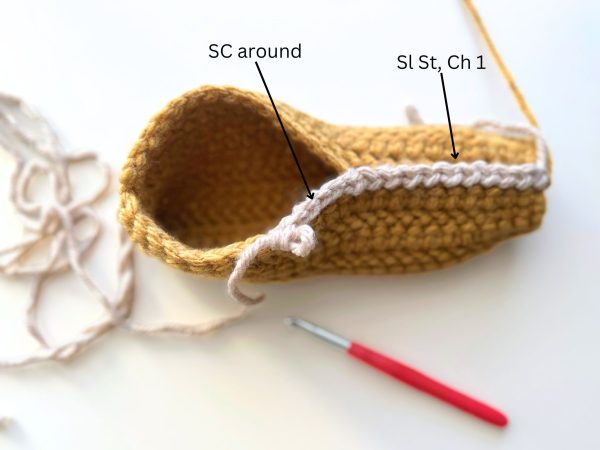
Toe part: Turn the slipper inside out to work on the other side now, which will be the right side. With the crochet hook, join a contrasting colour (Desert) at the toe part (single crochet side) and join both sides by working a Sl St followed by a Ch1 into each St for approx. 10 stitches.
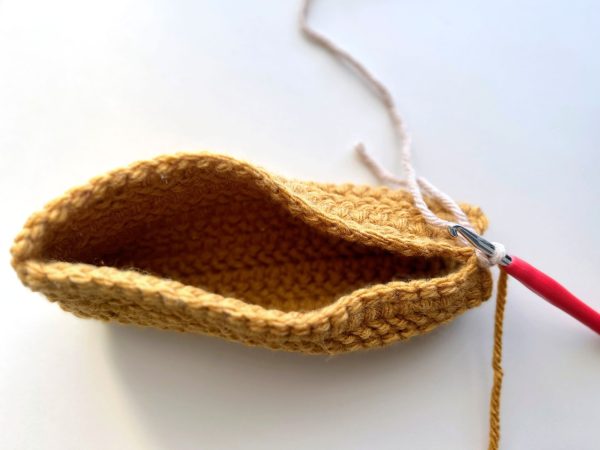
Try the slipper on to see if you want to close the top a bit more or if it feels just right. If you’re happy with it, continue by working on one side only, making SC stitches in each stitch around the ankle. Join the round with a Sl St, then fasten off and weave in the ends.
Now, it’s time to close the toe section by working into the top of the stitches all the way around.
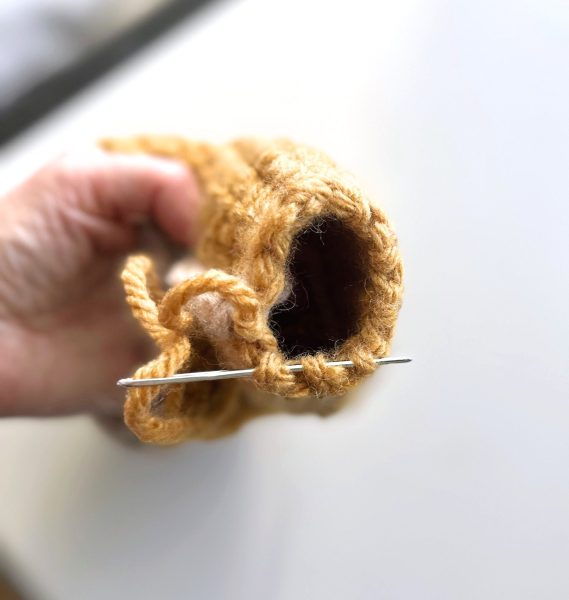
Pull the yarn tight until the hole is closed and sew it together, going back and forth until it’s completely closed and shape the toe part into a nice shape.
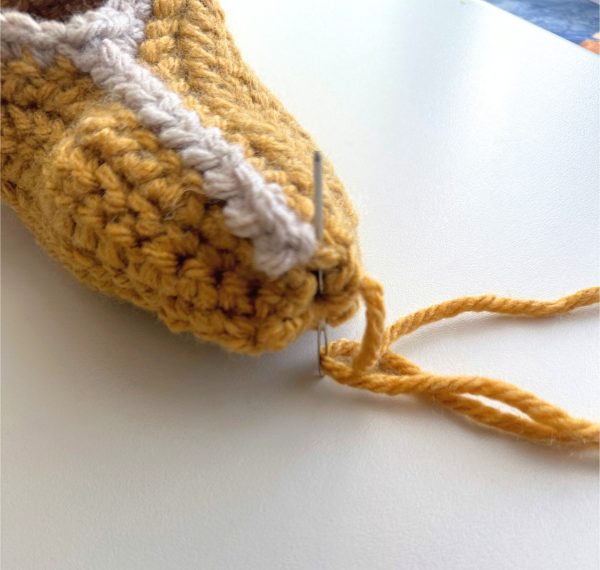
Fasten off. Weave in all ends on the inside of the slipper.
I hope you enjoyed this crochet pattern! Happy Making! 🙂
Get this pattern’s ad-free printable PDF version from my Etsy or Ravelry stores.
3 replies on “Cozy Crochet Slippers”
Olga, I just love this pattern! Hope that can be my next project. Thank you for all that you do for us.
Thank you, Joan! 💕 Hope you enjoy!
Your crochet slippers turned out so cute, what a fantastic idea! Today I’ve featured your project on Crafts on Display, hope you enjoy it! https://craftsondisplay.com/crochet/free-slippers-crochet-pattern-135188/