Last updated: May 26, 2026
If you have ever crocheted a placemat only to watch the edges curl up the moment you put it on the table, you are not alone. It is one of the most common frustrations when you are looking for a crochet placemat pattern that actually works, and honestly, it is the reason I wanted to make this one.
This post may include affiliate links; view my disclosure policy for details.

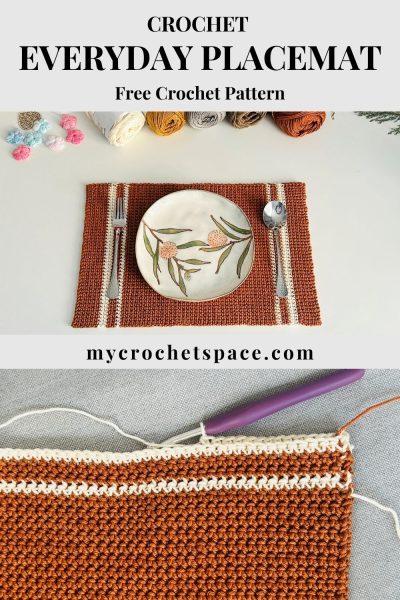
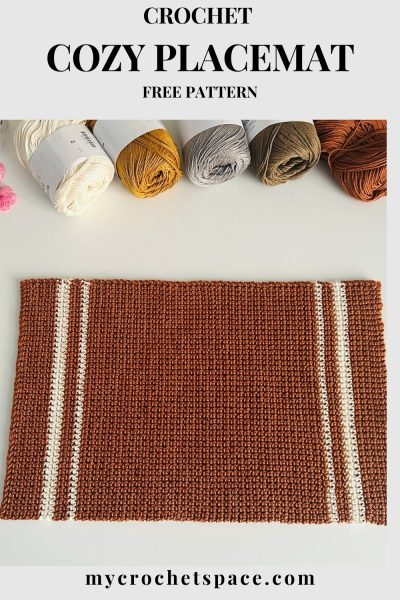
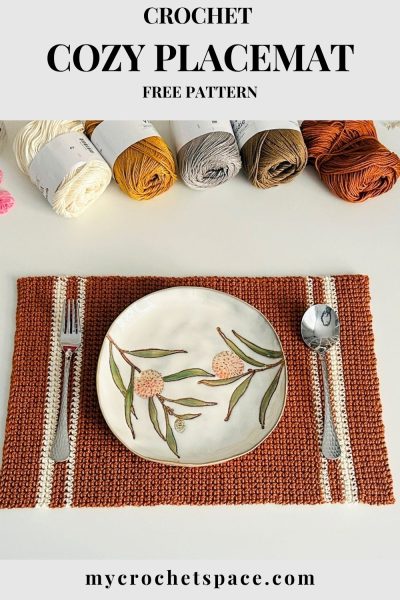
This free crochet placemat pattern uses the thermal single crochet stitch, and that one choice makes all the difference. The result is a thick, sturdy placemat that lays flat right off the hook, looks great on your table, and actually does the job it is supposed to do.
Why This Placemat Doesn’t Curl
The secret is the thermal stitch. Unlike regular single crochet, the thermal sc works into two loops at once – the back loop of the current row and the unused loop from the row below – which creates a double-layered fabric. That extra structure is what keeps the edges from lifting and curling.
The finished fabric is noticeably thicker and denser than a standard crochet placemat, with virtually no gaps for crumbs or spills to work their way through. It also has a lovely weight to it, which helps it lie flat and stay neatly in place on the table.
If you’re new to the thermal stitch, I highly recommend checking out my full tutorial right here on the blog before starting this project. It includes a step-by-step video demonstration and helpful tips that will make crocheting this placemat much easier and more enjoyable.
One more thing worth mentioning: because of the way the thermal stitch is worked, this placemat usually comes off the hook already nice and flat, without any curling at all.
But if your edges look a little uneven, which can happen if your tension changes throughout the project, a quick block can help tidy everything up. But honestly, in most cases, you probably won’t need to block it as long as your tension stays fairly even. 😊
Scroll down for the free crochet pattern or get the ad-free & premium PDF pattern with step-by-step photos and written instructions from my Etsy or Ravelry stores.
Or pin this pattern to your Pinterest Crochet Board for later!
Difficulty Level
Intermediate
Finished Size
10.5″ x 16″ (27cm x 40cm)
Gauge
9 sts x 16 rows in Th sc = 2″ (5cm)
Abbreviations (US Terms)
- Ch = chain
- St = stitch
- Sl st = slip stitch
- Sc = single crochet
- Th sc = thermal single crochet
Thermal stitch: Insert your hook into the back loop of the next stitch and the parallel loop directly below it. Then work a single crochet through both loops as usual. (Watch the video demonstration)
Materials
- Yarn: Knit Picks Vividie, worsted weight #4, 100% Mercerized Cotton. Main colour: Sunbaked, stripes: Swan.
- Yardage for one placemat: approximately 1.5 balls of main colour and 0.5 balls for the stripes, about 380 yds (347m) total.
- Other yarn options that work great for this pattern: Dishie (also by Knit Picks), or any worsted weight 100% cotton or cotton-blend yarn.
- Hook: H-8 (5mm)
- Yarn needle
- Scissors
Crochet Placemat Pattern Notes
- The size is easily adjustable. Chain more or fewer stitches to change the width, and work more or fewer rows to adjust the length.
- The ch 1 at the beginning of each row does not count as a stitch.
- Due to the double-layered nature of the thermal stitch, rows are only visible on one side at a time. Count the rows on both sides and add them together to get the total row count.
Crochet Placemat Pattern
Before you begin, I recommend watching my video tutorials on how to crochet the thermal stitch and how to switch between colours – they will make the whole process much easier!
Ch 45 (or any number of chains for your desired width).
Row 1: Sc in the second chain from the hook and across, working into the back bumps on the backside of the chain. (44 stitches)
Row 2: Ch 1 and turn your work so that you are still facing the same side you were just working on (see photo below).
Insert your hook into the back loop of the first stitch and into the first unworked loop from the foundation chain. Yarn over and complete a regular single crochet through both loops — that is your first Thermal Stitch! Continue working one Thermal Stitch into each stitch across the row. (44 stitches in every row)
Row 3: Ch 1 and turn. Work Thermal Stitches across just like in the previous row, inserting your hook into the back loop of the current stitch and the parallel unworked loop from the row below.
Don’t forget the very last stitch; it can be easy to miss as it sometimes hides along the edge. Count your stitches at the end of each row to make sure you always have 44 or whatever stitch count you had in the first row.
Repeat Row 3 until your placemat reaches your desired length.
Colour changes:
Brown: 12 rows
White: 4 rows
Brown: 4 rows
White: 2 rows
Brown: 72 rows or until you have 13 inches in length
White: 2 rows
Brown: 4 rows
White: 4 rows
Brown: 12 rows
Last Row: Ch 1, pull that chain tight so it sits very small and snug. Work slip stitches across the row the same way you worked the Thermal Stitch – through the back loop of the current stitch and the unworked loop from the row below.
This smooths out the stepped edge that naturally forms over two rows and creates a clean finish that mirrors how you started, so both short ends of your placemat look identical.
Fasten off and weave in all ends.
Blocking
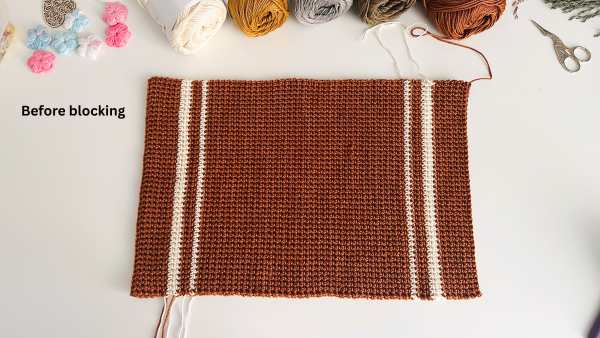
Even though my placemat looked pretty good without blocking, I decided to block it anyway, and it made a noticeable difference to the finished result. 😊
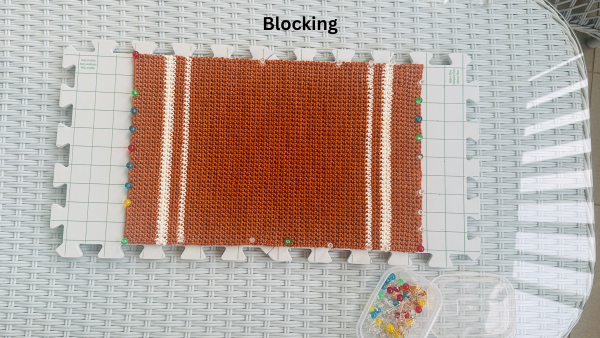
If you like crisp edges and perfectly straight sides (and I definitely do!), I think blocking is well worth the extra few minutes. It helps smooth everything out and gives the placemat a more polished finish. Simply pin it to a blocking board, lightly spray it with water, and leave it to dry completely. 😊
I usually leave mine overnight, or up to 24 hours, just to make sure it’s completely dry before unpinning it. Once dry, simply remove the pins and it’s ready to use! 😊 See the before, during, and after photos below.
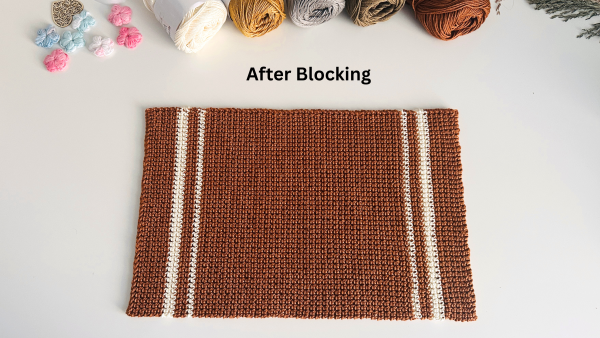
The difference after blocking is not as dramatic as it might be with other stitches, but it does smooth out the longer sides nicely.
One thing to watch out for: on the short side, I pulled the pins a little too tightly and ended up with a slightly wavy edge (see the photo after blocking on the right).
When blocking, pin gently and avoid overstretching the fabric. Also, try not to push the pins in too firmly, as this can leave small dents in your finished placemat. 😊
Get the ad-free & premium PDF pattern with step-by-step photos and written instructions from my Etsy or Ravelry stores.
Tips and Troubleshooting
Before you get started, a few things that will make your placemat turn out beautifully:
Tension matters more than you might think. Even tension throughout your work is what gives your placemat straight, clean edges. If your tension shifts as you go, you may notice the sides pulling in or bowing out slightly.
Try to stay consistent from the first row to the last, and if you know your tension tends to loosen when you are tired or distracted, it is worth taking a break rather than pushing through.
Stick with the same hook from start to finish. Switching hook sizes mid-project will affect your stitch size and tension in ways that are hard to correct later. If you are swatching and debating between two hook sizes, commit to one before you begin.
On hook size in general: a smaller hook will give you a denser, firmer placemat, which is great for durability. Just keep in mind it will also make it a little harder to work into the stitches, the project will take longer, and it will use slightly more yarn.
On the other end, going too large with your hook will make the fabric feel puffy and stretchy – not ideal if you want a crochet placemat that lays flat and holds its shape on a table. A middle-ground hook that gives you a firm but not stiff fabric is the sweet spot, so I recommend always making a small swatch first.
For yarn, I recommend 100% cotton or a cotton blend. A 100% cotton crochet placemat like this one has very little stretch, which works perfectly with the thermal stitch and helps it keep its shape over time.
It is also durable, washable, and has a clean, smooth finish, unlike some acrylic yarns that have little fibres sticking out, which can make the stitch definition harder to see.
A yarn with a lot of stretch or elasticity tends to work against the dense, sturdy fabric the thermal stitch creates, so I’d personally avoid it for this project.
I hope you enjoy this free crochet placemat pattern as much as I enjoyed designing it! If you make one, I would love to see it, feel free to tag me or share a photo in the comments. And if you are looking for more crochet placemat pattern ideas, check out my other home decor patterns below.
More Free Home Decor Crochet Patterns
- Thermal Crochet Coasters
- Easy Crochet Washcloth
- Trellis Mosaic Potholder
- Everyday Thermal Potholder
- Crochet Snowflake Coaster Pattern
- Christmas Tree Coaster Crochet Pattern
Frequently Asked Questions
100% cotton yarn is ideal for crochet placemats because it is durable, washable, absorbent, and holds its shape well on the table.
Yes. Simply chain more or fewer stitches for the width and work additional rows to adjust the length.
For the best results, I recommend blocking your finished placemat. It helps even out the stitches, encourages the fabric to lie flat, and gives the project a crisp, polished finish. 😊
I’ve found that a bit of curling can happen with some stitch patterns, especially if your tension is on the tighter side. Blocking after finishing can help smooth everything out, keep the placemat flat, and give it a neat, polished finish. 😊
Most cotton crochet placemats can be machine-washed on a gentle cycle. After washing, I recommend laying them flat and pinning them into shape while they dry to help maintain crisp edges and a neat finish. Always check the yarn label for specific care instructions.