
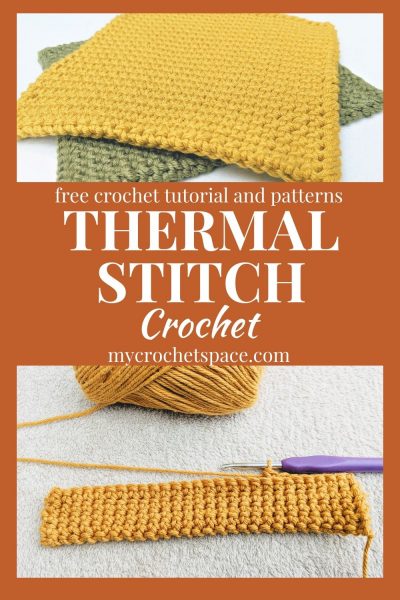
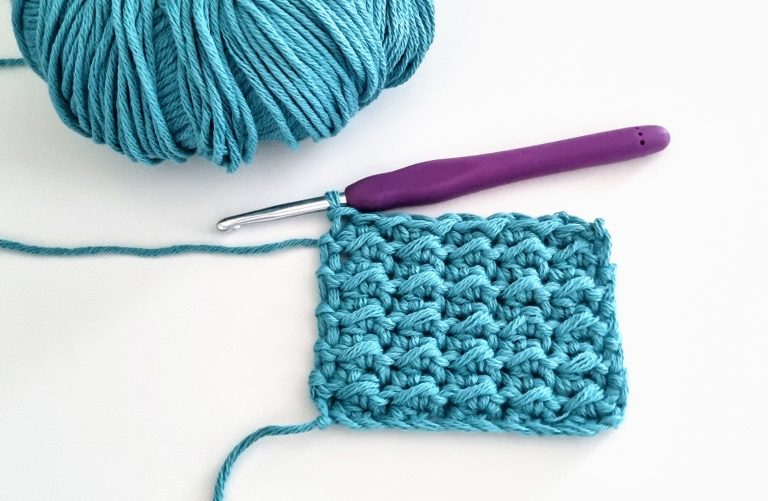
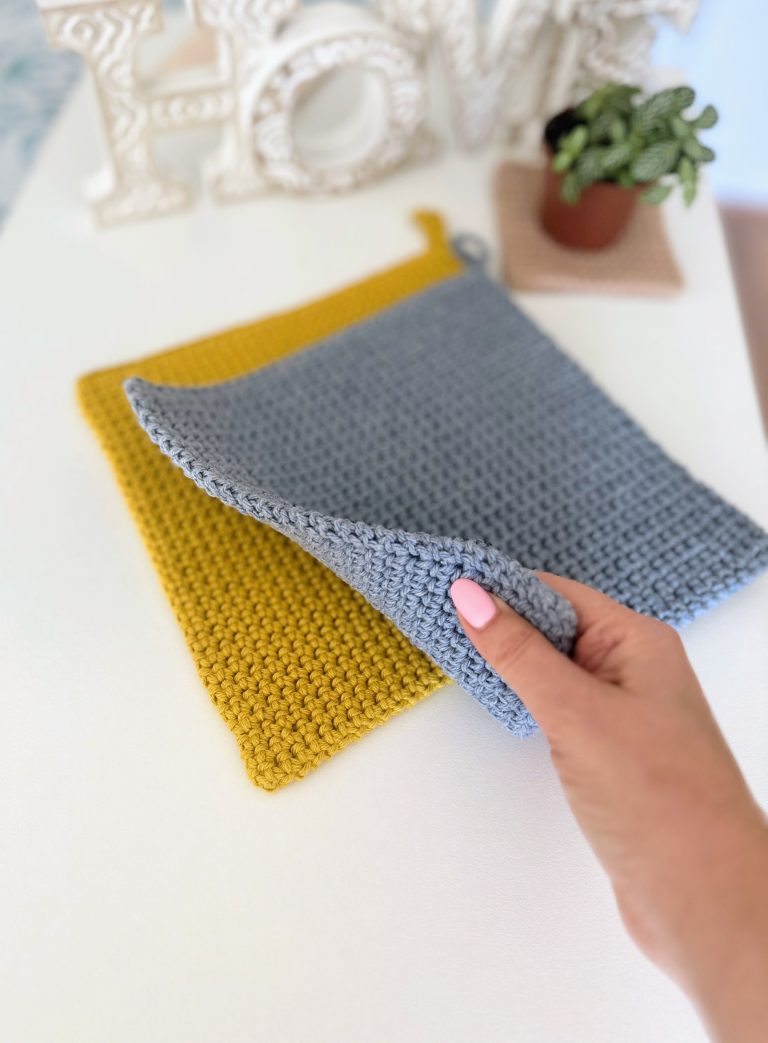
Crochet Thermal Stitch is a super dense and one of the thickest crochet stitches. It’s worked on two rows simultaneously, which gives a double layer and a super thick and sturdy texture. Thermal stitch is the perfect stitch for potholders, bags, coasters or anything where you need extra sturdiness in crochet.

In general, Thermal Stitches can be any stitches (single, half double or double crochet stitches) that are worked into the back loops only PLUS the unworked stitches on the row below at the same time. You’re basically creating a double layer at the same time, that’s what creates the thickness.
Most commonly used and the easiest to learn (in my opinion) is the Thermal Single Crochet. But you can also use Half Double (I have two versions of that stitch here and here) and Double Crochets as Thermal Stitches.
How do you crochet the Thermal Stitch?
Insert your hook into the back loop only of the next stitch PLUS the parallel loop on the row below. Work a single crochet (or half double / double crochet) as normal through both of those loops. (Watch the video demonstration below for visual guidance)
What is the Thermal Stitch in crochet used for?
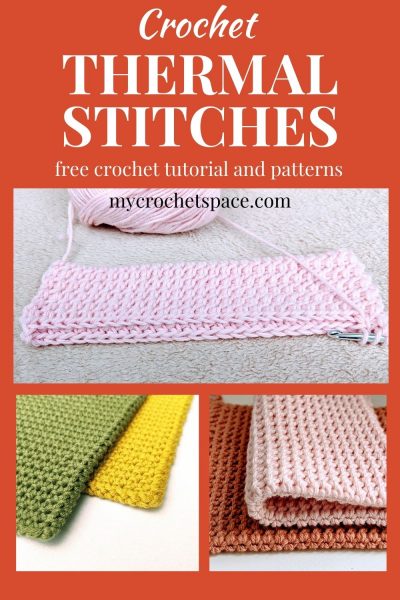
Thermal Stitch can be used for potholders, bags, any types of covers for laptops or books, coasters, baskets, placemats, or anything where you need the extra sturdiness. People use this stitch for pet blankets, headbands, beanies, and dishcloths.
Best way to know what you can make using the thermal stitch is to make a small swatch (or a potholder as it’s quite small & quick to work up and you can use it!) and feel the texture. Only then you will know if it’s a good stitch for your project. Also, when using a different type of yarn the stitch may look and feel differently (as with all stitches).
Also, it will use more yarn as it creates a double layer and accordingly it may take more time to work up.
Free Crochet Patterns Using Thermal Stitches
- Crochet Thick Potholder (single crochet thermal stitch)
- Thermal Half Double Crochet Potholder Pattern
- Extra Thick Crochet Potholder (a different version of half double crochet thermal stitch and my personal favourite!)
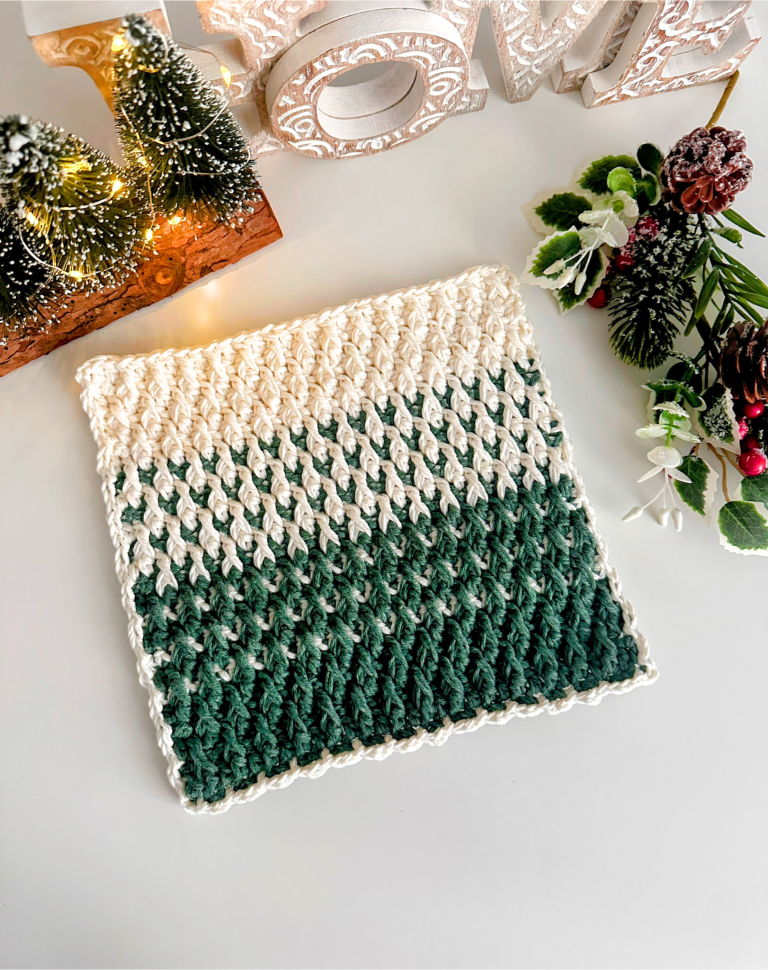
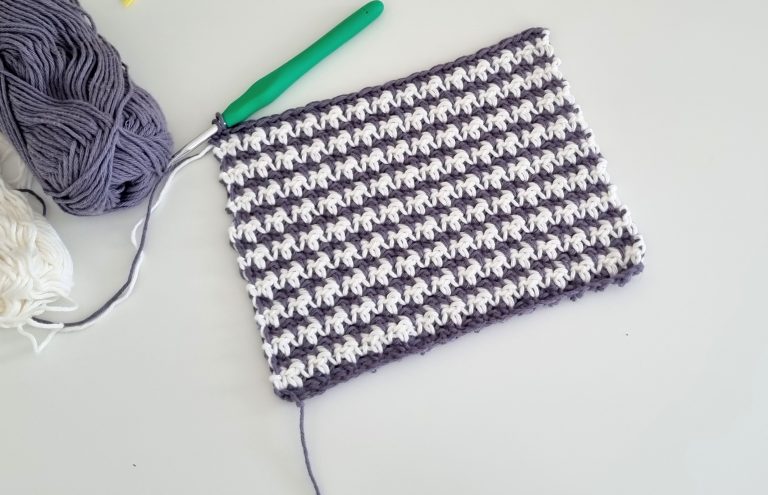
- Crochet Thermal Stripes Potholder (single thermal crochet with colour changes)
Thermal Stitch Difficulty
Easy/intermediate.
The Thermal stitch is not a difficult stitch to learn, but it can be a bit tricky to master the technique of finding the right stitches to crochet into. It requires extra attention, especially in the first few rows as you get the hang of it. However, after the initial 3-4 rows, the stitches on both rows become much easier to identify, and the process becomes much more straightforward.
So, don’t be discouraged if you find it a bit challenging at first. Just take your time and give it some practice, and you’ll quickly get the hang of it. Once you do, you’ll find that the Thermal stitch is a breeze to work with and can add a beautiful and robust texture to your crochet projects.
Aaand…. Don’t worry if you have to undo your stitches and start over when working with the Thermal stitch – it happens to everyone, even experienced crocheters! In fact, I had to redo my stitches countless times when I first started using the Thermal stitch. My edges were not straight because I frequently missed one stitch or added an extra one! It’s normal to make mistakes and take a few tries to get it right, so don’t get discouraged.
So, take it easy and enjoy the journey of learning the Thermal stitch. You’ll get there in no time!
Materials
- Yarn: any medium worsted weight #4/10ply/Aran
- Hook: H-8 (5mm)
- Yarn needle
- Scissors
Pattern Notes
To make it easier, I will explain how to do the Thermal Single Crochet. It’s the easiest to start with and once you learn the thermal single crochet you can easily replace the single crochets (SC) with any of the other basic crochet stitches, such as half double or double crochets (HDC or DC).
Abbreviations (US Terms)
- Ch = chain
- SC = single crochet
- St = stitch
- Th St = Thermal stitch
Crochet Thermal Stitch Instructions
Chain any number of chains.
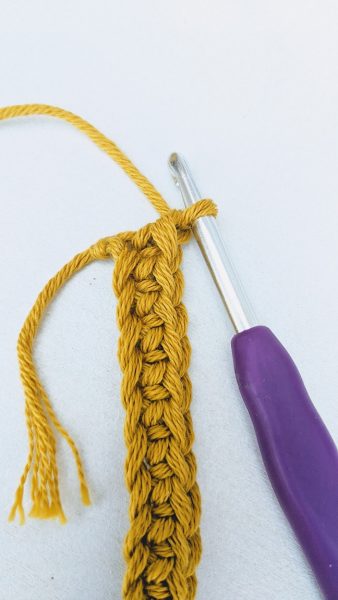
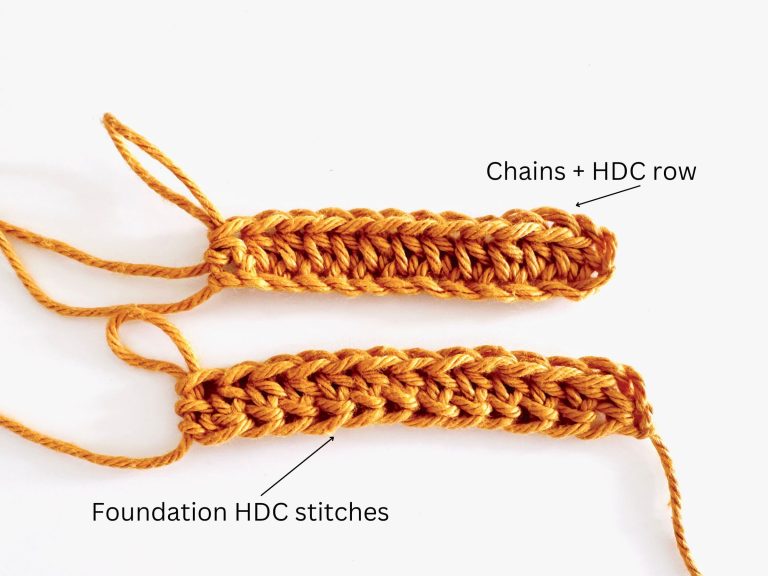
Row 1: Work a SC in the second chain from hook (back bumps) and each back bump across. Ch 1 and turn it vertical, as pictured below.
Row 2: Insert hook into the back loop of the very first stitch and into the parallel loop from the foundation chain row, as pictured below. Work a single crochet as normal through both of those loops. That’s one Thermal Stitch (Th St).
Continue working Thermal Stitches into every stitch across the row. Ch 1 and turn.

Row 3: Insert hook into the back loop of the first St PLUS the parallel loop from the row below. Work a SC as normal through both of those loops. Work Th Sts into every stitch across the row. Ch 1 and turn.
Repeat row 3 until you reach your desired size and then continue to last row instructions.
Tip for straight edges: If you’re finding that the edges of your Thermal stitch project aren’t coming out even, it’s probably because you missed a stitch or added an extra one. To avoid this, try counting your stitches before starting each row. It should be the exact the same number of stitches in each row. That way, you can catch any mistakes right away and fix them before it’s too late. Taking this small step can save you a lot of time later on! 🙂
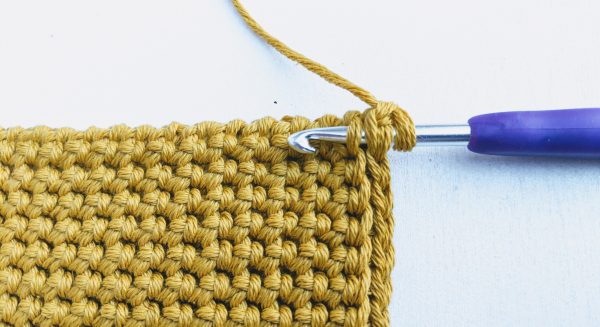
Last Row: Insert your hook under both loops (front and back loops, as you normally work a SC) plus the parallel loop on row below. You’ll have four loops on your hook, as pictured below. Work a SC through all four loops and repeat across the row. This will give a nice finish to your project!
I hope you like the Thermal Stitch and give it a try! Let me know in the comments below what you think of this stitch and what you’re going to use it for. For inspiration, check out these free patterns that use the Thermal Stitch.
Video Demonstration – Thermal Single Crochet
More free crochet patterns:
- Cross Stitch Potholder
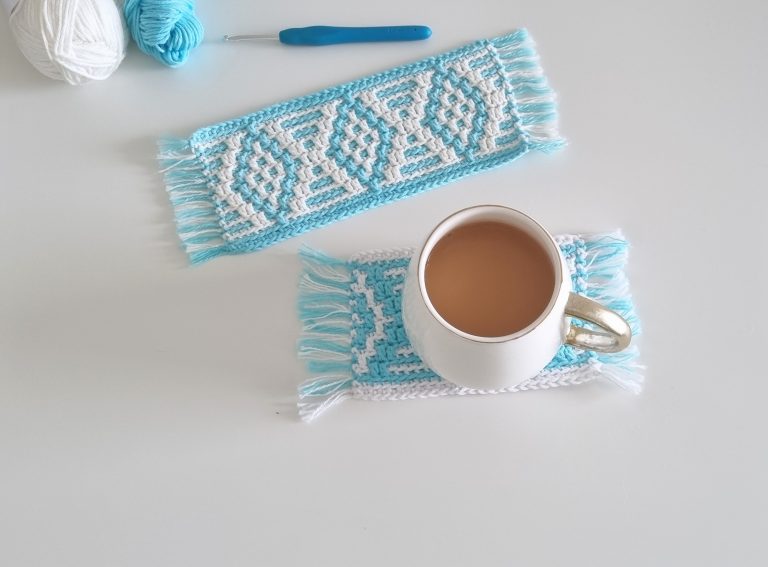
- Tea Spa Crochet Mug Rug
- Apache Tears Crochet Mug Rugs
- Waffle Stitch Washcloth
- Spider Stitch Potholder
Is it just me or is it difficult to put the hook through the parallel stitch. do I need to crochet looser. if takes minutes to do each stitch.
Hi Joyce, it’s possible that your stitches are too tight. Try to crochet more loosely. Also using thicker yarn will make it easier. Hope this helps! 🙂
Finished the first row but no matter how I turn it my hook is on the opposite side. I hope you understand what I’m saying.
Hi Cindy, the first row is normal single crochet stitches. Do you mean this row?
I was looking for a good dense stitch for potholders, and this is perfect! Thanks for the clear instructions and helpful tips.
You’re so welcome! I’m glad you like this stitch 🙂
I usually have a really hard time following patterns the first time, but this worked up amazingly even with using two strands of thin cotton thread that needed to be used up from the stash. I’ll be sharing this pattern with my crochet friends.
Hi Alisa, that’s wonderful to hear! It’s definitely not the easiest stitch, especially when working with two strands of yarn – great job! 😊
I really like your way better for making the thermal pot holders. I used this stitch several years ago and couldn’t remember how it was done. Thank you for your video. The single crochet is much better for the potholders than the HDC.