Last updated: June 25, 2025
Have you tried to crochet a laptop case? I’ve had a few laptops in the past and never had to buy a cover as I always made one for myself! 🙂 It’s a really easy and quick crochet project and really so satisfying to be able to create something special and unique for yourself that no one else has!
It’s also such a fun project – from choosing the colours, the texture of the yarn and the type of stitch. Once you have made all the decisions on the design you can start on your laptop sleeve. Scroll down the page to see the free pattern for this crochet laptop case. You’ll also find a short video demonstration of the stitch at the bottom of the page.
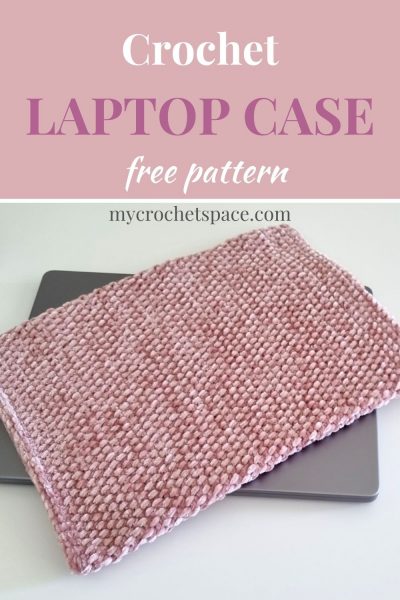
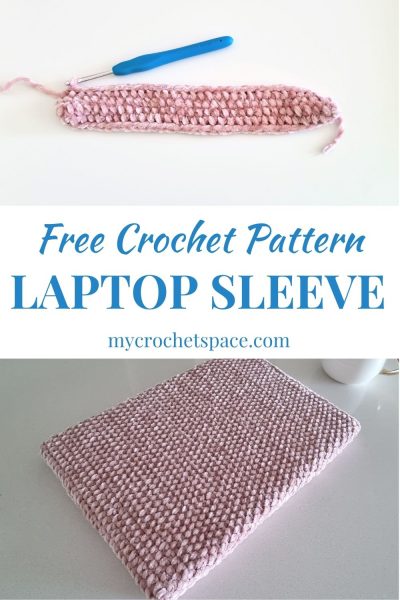
Crochet Laptop Case Free Pattern
How to Crochet a Laptop Sleeve
It’s super easy to crochet a laptop case! The design of this crochet sleeve is quite simple. You won’t need stitching or assembling the different parts together as you work in the round and making one piece.
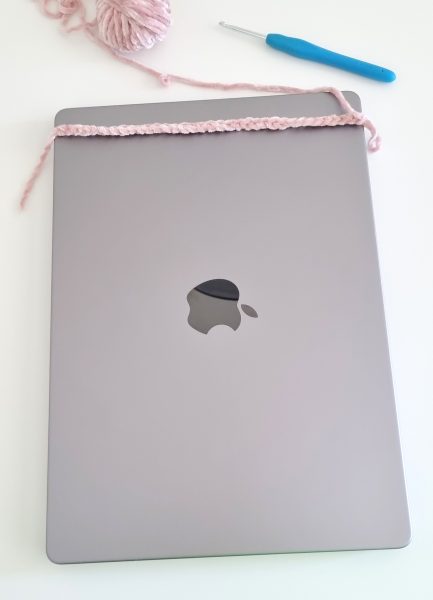
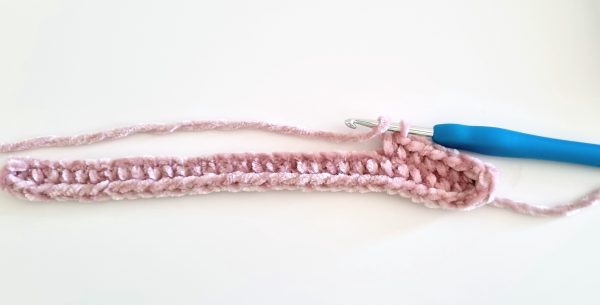
I started on one side of the laptop and chained an amount that was exactly the width of my laptop. Then, I worked one row and turned the corner to continue on the other side of the foundation chain. That way you’ll have one round (instead of a row) of stitches.
From there, I continued in spiral rounds (without connecting the rounds) all the way until the laptop was fully covered. At the end, I worked one round of slip stitches just to finish it off but you can leave it out if you already like the edging of your laptop case.
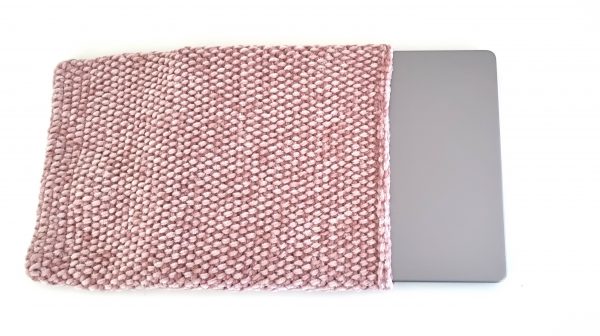
I had another laptop case designed the same way and I really like it as you can make them to fit quite snug and it’s easy to take the laptop out.
About the stitch
Half Double Crochet (yarn under): yarn over, insert hook in next St, yarn under, pull through the stitch, yarn over, pull through all stitches (see video demonstration below).
This Stitch is basically the same as the normal HDC but instead of yarn over, you yarn under in the middle of the stitch.
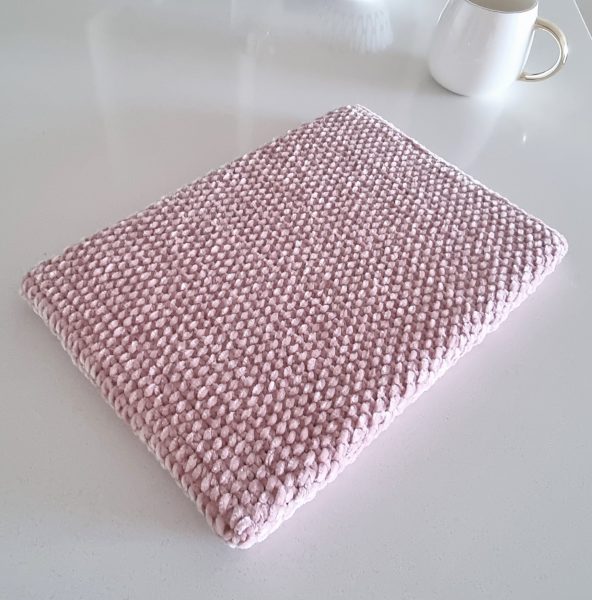
This little change makes the stitch slightly more dense or together, and creates a lovely definition of the slanted loops you see on the picture.
You can absolutely use the normal HDC here, and it will look similar but not as defined. I find that the yarn under creates a more tidy and harmonious look.
Free Crochet Laptop Case Pattern
This post may include affiliate links, view my disclosure policy for details.
Skill Level
Easy
Dimensions
Width: 9,25″ (23,5cm)
Length: 13″ (33cm)
Gauge
15 Sts x 15 Rows (in pattern)
Materials
- Yarn: Lionbrand Vel-Luxe, 1 skein in Dusty Rose or any worsted #4 yarn
- Crochet hook: 4mm (G) (I used a smaller size hook than what’s recommended on the label, to make the stitches more dense)
- Scissors
- Yarn needle
Abbreviations (US Terms)
Ch – chain
St – stitch
Sl St – slip stitch
HDC – half double crochet
HDC YU – half double crochet yarn under
Special Stitches
Half Double Crochet (Yarn Under): yarn over, insert hook in next St, yarn under, pull through the stitch, yarn over, pull through all stitches.
Pattern Notes
- This laptop pattern size will fit a 14-inch MacBook Pro (12.3 x 8.7 x 0.6 inches).
- To adjust this pattern to your laptop’s size, simply chain an amount until you have the exact width of your laptop and work more or less rows for the length.
- The laptop cover is worked in spiral rounds (continuous rounds, without connecting them with a Sl St).
- The pattern is using half double crochets (yarn under) throughout the whole pattern.
Ch 35 (or until you reach the width of your laptop).
Round 1: HDC YU in third St and each St across the row (33).
Now continue on the other side of your chain to complete the round and work HDC YU in each St across (33).
Make sure you have the same amount of stitches on each side. Here, I have 33 stitches on one side, which means I have to make 33 stitches on the other side.
Now you have completed one round. Do not connect this round, we will continue working in spiral rounds to eliminate the seam (without slip stitching the rounds and without turning).
Round 2-your desired length: Insert you hook in the first space between the stitches in the beginning of the round and work a HDC YU. Continue working HDC YU in each space between the stitches in the previous round until you reach the desired length of your laptop.
Last row: Sl St in each St around.
Fasten off and weave in all ends. Done!
Hope you enjoyed making this laptop cover! Let me know what you think of the pattern in the comments below! If you share your makes from my patterns on Instagram, don’t forget to tag me @my_crochet_space, I would love to see them!
Crochet Laptop Case – Short Video of the HDC (yarn under) Stitch
You might also like this Free Crochet Laptop Case
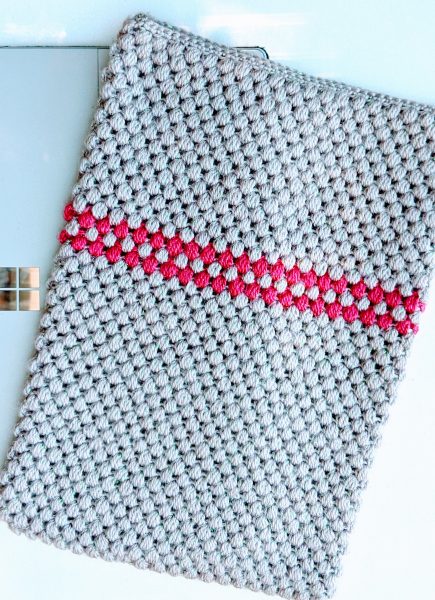
In this pattern, I was using the same design but a different type of stitch. You can see the free pattern in the Crochet Laptop Case post.
More free crochet patterns that are quick and easy:
- 21 Small Crochet Projects for Last Minute Gifts
- 21 Quick Crochet Ideas
- 20 Quick Gift Ideas to Crochet
- 10+ Crochet Cowls Free Patterns
- 10+ Free & Easy Crochet Fingerless Gloves Patterns
- Free Crochet Clutch Pattern
2 replies on “Crochet Laptop Case Free Pattern”
Did you use the full skein for this? I’m thinking about making two identical ones and wondering if I can get away with one large skein or if I’ll need to buy two.
I used up almost the entire skein, which was 246 yards long. If you plan to make two, you’ll need two skeins of the same size, or you can look for a larger one that’s twice the length 🙂