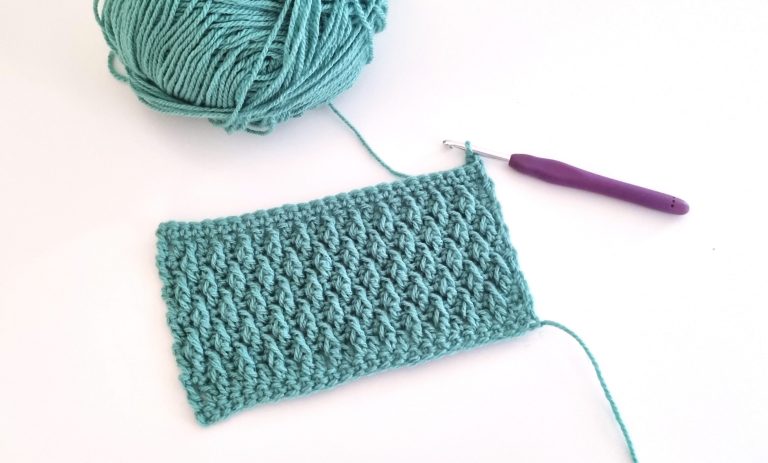
Did you reach the last stitch of your crochet project and want to know how to finish it off? It’s quick and simple. All you need to do is cut the yarn after your last stitch and make a final knot to ensure your crochet project stays secure.
But how? Below, you can learn the easiest and simplest way to fasten off in three quick steps, complete with pictures and a short video demonstration.
Fastening off in crochet simply means cutting the yarn and making a knot so that your crochet project won’t unravel.
Fasten off step-by-step
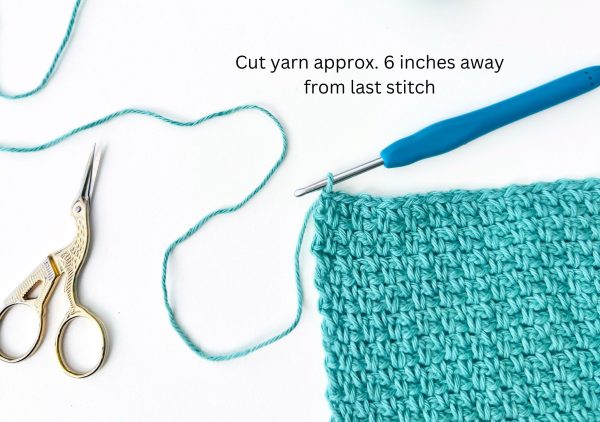
- After the last stitch in your project, cut the yarn approx. 6 inches away from the loop on your hook.
- Chain one.
- Pull the hook straight up and keep pulling, creating a very large loop until the cut end of the yarn comes out of the stitch. This will form a knot. Pull it tight to prevent unravelling.


Watch a short video demonstration of how to fasten off your crochet project here.
If your project is done, then you can start with weaving in the ends, see below!
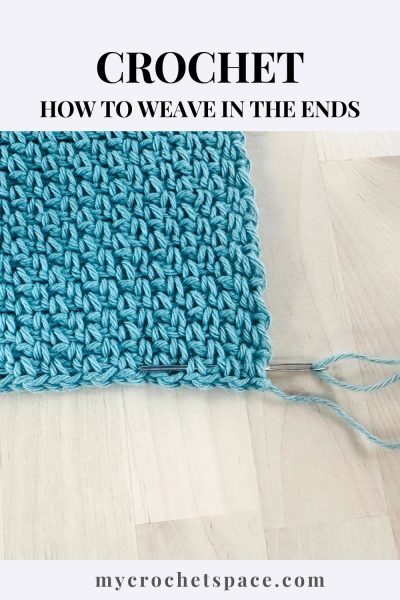
How to Weave in the Ends
Once you finish your crochet project, the next step is to weave in those loose yarn ends. If you’re using crochet patterns, then you’re familiar with the phrase at the end of the pattern that says, “Fasten off and weave in all ends”. Weaving in ends means that you need to hide all the yarn tails from the start and end of your project. You may have more than two yarn ends either from switching colours or using more than one ball of yarn.
Materials
To weave in the ends, you will need a yarn needle (also known as a tapestry or darning needle) and scissors. You can also weave in the ends using a crochet hook instead of a yarn needle (choose a smaller size hook). But I prefer using a yarn needle because it’s easier, quicker, and allows you to go right inside the fabric through the stitches without leaving holes behind.
In the beginning, I always used a crochet hook to weave in the ends before I discovered that a yarn needle makes it so much easier and quicker 🙂 But as with everything, there is no right or wrong – it’s just whatever is more comfortable for you.
Weaving in Ends
Weaving in yarn tails is typically done on the wrong side, which is the less visible side of your work, such as the inside of a cardigan or a sock. However, if you’re making something like a towel or a washcloth where there is no right or wrong side, then it doesn’t really matter which side you choose. It’s only important that the yarn is hidden well inside the fabric, so it doesn’t show from any side and doesn’t come out after washing.
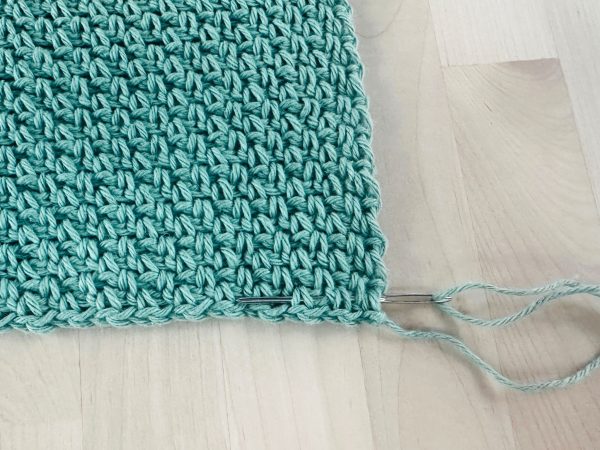
There are many ways and techniques you can learn, but here’s how I weave in the ends, which I find very easy and also secure: After fastening off, thread a yarn needle with one of the yarn tails.
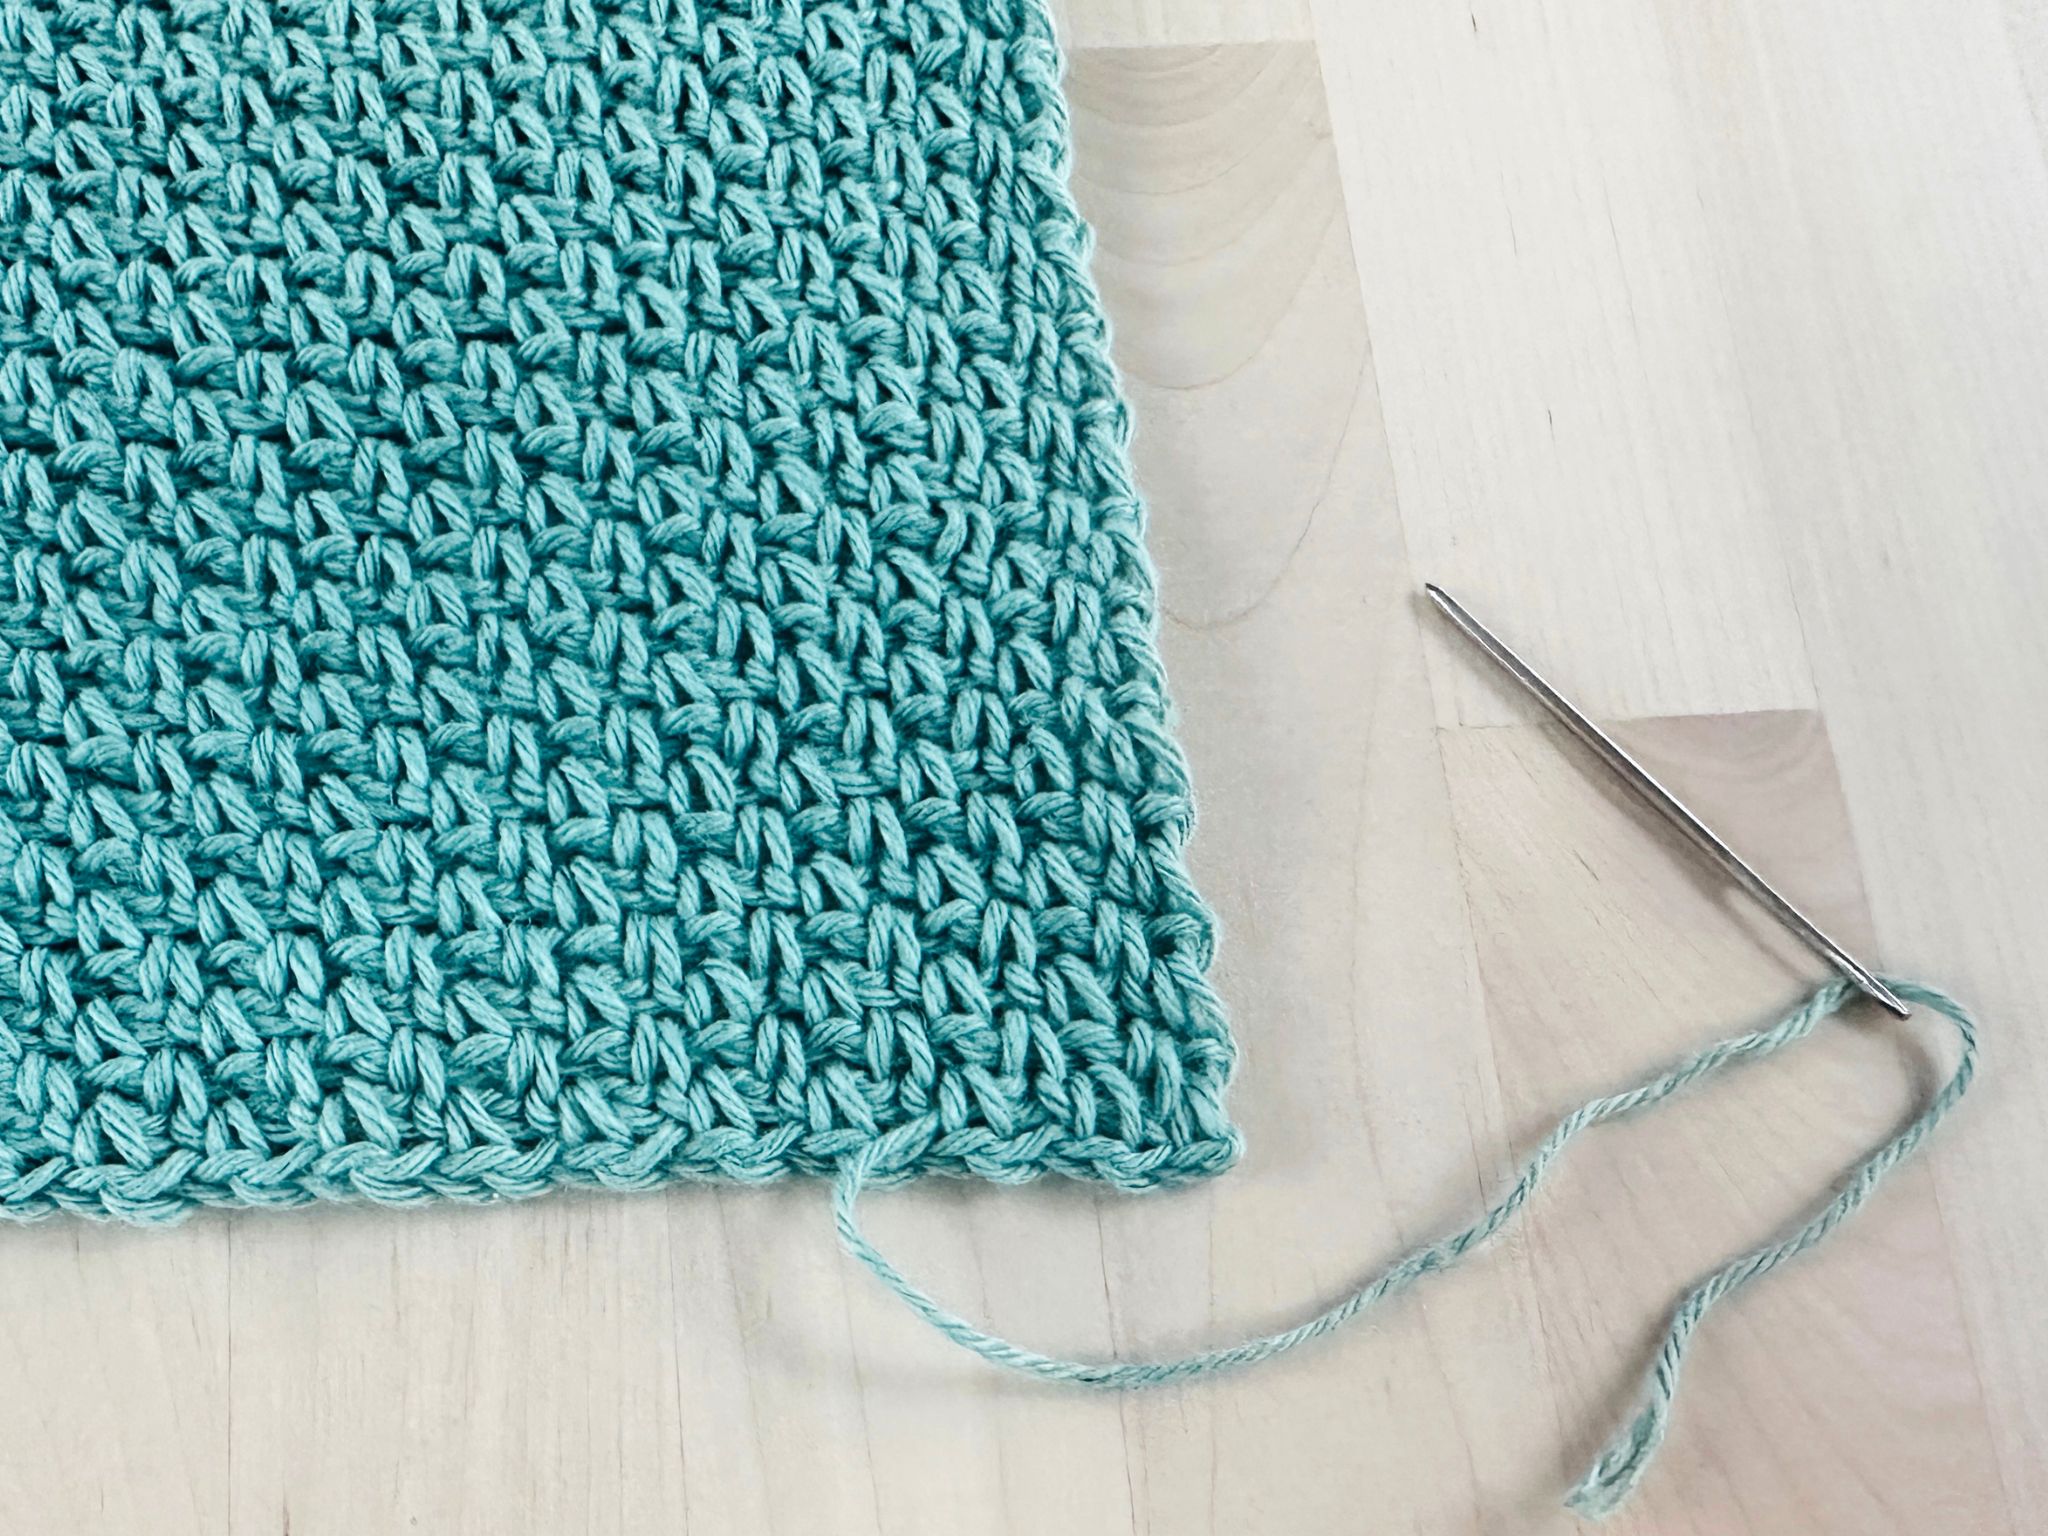
I slide the needle right inside the fabric from the side, near where I fastened off, keeping it horizontal and inside the fabric, without poking through to the other side. For projects with tall stitches, like double crochet, I aim for the thicker part, the base of the stitches. That keeps the yarn tail less visible and more secure. See photos below.
Making sure the needle doesn’t show too much on any of the sides. That way, you’ll know the yarn will be well inside the fabric.

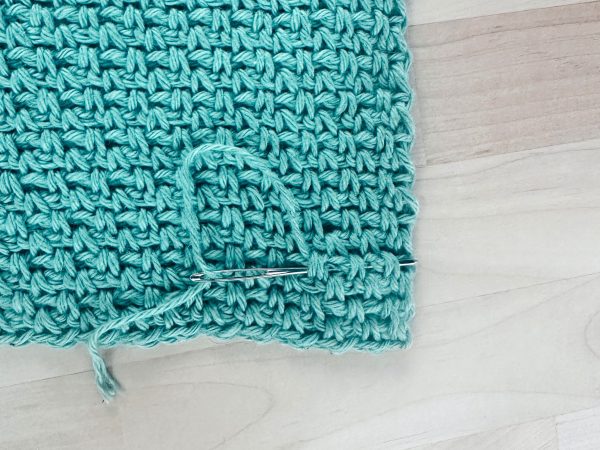
Slide the needle through for about an inch and then pull the yarn through. Stretch the fabric a bit to make sure it doesn’t pull too tightly.

After that, I insert the needle next to where it just came out and go vertically for about an inch. Then, I pull the yarn through and gently tug the fabric in all directions to keep it flexible.

Next, I switch back to a horizontal direction for another inch. I repeat this process 3-4 times in total, going left, right, up and down. Adjusting the number of weaving in stitches based on the density of crochet stitches in the project. If the stitches are tight (like single crochet)I’ll do 3-4 repetitions. For taller stitches or lace patterns (like double crochet, chain stitches), I make a few extra stitches both vertically and horizontally to ensure everything stays secure.
Remember to keep the needle inside the fabric and work within the same colour if there are multiple colours and yarn ends in different colours in your project.
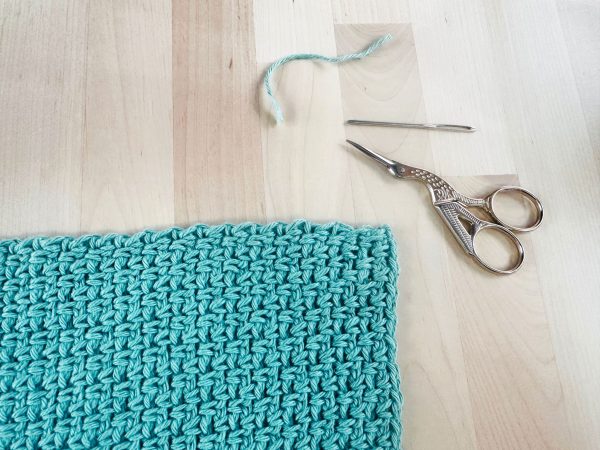
Finally, I trim any excess yarn and give the fabric another gentle stretch. Ideally, the woven-in yarn shouldn’t be visible at all.
And that’s done! 🙂 Enjoy more crochet tutorials or crochet patterns.
More Tutorials:
- How to Crochet for Beginners – A Step-by-Step Guide
- Granny Stitch Crochet
- Herringbone Half Double Crochet Washcloth
- Foundation Crochet Stitches