Last updated: October 11, 2024
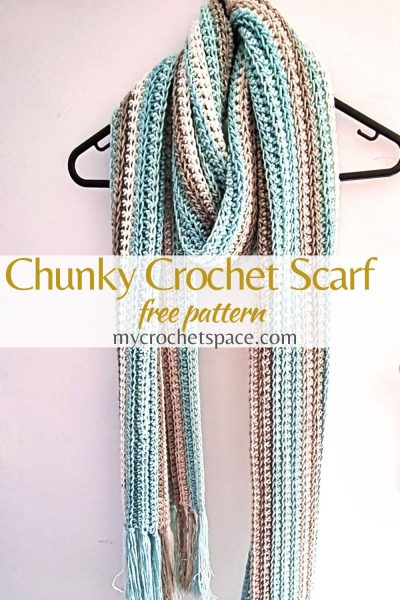
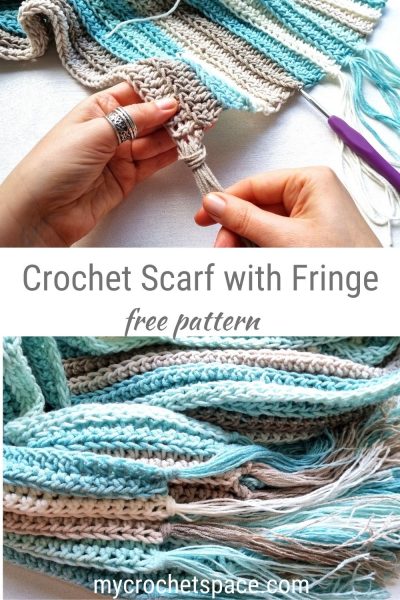
If you’re looking to make a crochet scarf with fringe, you’re in the right place! Scarves are the perfect winter project, and you can whip one up in just a day. Plus, they make unique gifts for any occasion, whether it’s Christmas, a birthday, or just because!
This particular crochet scarf pattern is easy, using just one type of stitch throughout. It is not only beginner-friendly but also creates a soft, airy, and squishy texture that you’ll love having wrapped around your neck.
The fringe on this crochet scarf is a charming touch, and I’ll show you how to make the fringe in the photos below in the pattern. It’s a great way to add a bit of charm to your scarf, and you can customize it to your liking. 🙂
One of the best things about crocheting a scarf is that you can use any colour of yarn you like. Whether you want a bright, bold statement scarf or a more subdued and neutral one, the choice is yours. And because this pattern is so easy, you can relax and enjoy the process of crocheting and creating something beautiful.
This fringe crochet scarf is the perfect project for those who want to make something quick, easy, and stylish, and it’s a great way to add a personal touch to your winter wardrobe or to create a special gift for someone you love.
Crochet and knitting may have different looks, but there are certain crochet stitches that can make your project look more like knitting.
The stitch used in this pattern is one of those stitches that can create a beautiful knit-look with a soft and squishy texture that’s perfect for a cozy scarf. This stitch is one of the best ones to use for a crochet scarf, especially if you’re aiming for that knit-like appearance.
About the Stitch
The stitch used here is a half double crochet in back loop only. If you are looking for a knit-look crochet scarf then this stitch is one of the best stitches for a scarf!
Half double crochet in back loop only: yarn over, insert hook in the back loop only of the next stitch, yarn over, pull through one loop, yarn over again and pull through all loops on hook.
If you’re not familiar with the half double crochet in back loop only stitch, I have a video demonstration of it in action! You can watch how I used this stitch to make the Knit-Look Infinity Scarf.
By working in back loops only, you can create a crochet fabric that is more elastic, stretchy, soft and squishy. This technique is commonly used in a variety of projects, such as scarves, beanies, hats, ear warmers, shawls, cowls and more.
Difficulty level
The pattern is simple overall, but the only slightly challenging aspect could be the foundation half double crochet if you haven’t tried it before. Rather than using a traditional foundation chain, the foundation half double crochet allows you to create the foundation chain and the first row of half double crochets all in one go.
To see how it’s done, check out my Foundation Half Double Crochet tutorial.
When I want my project to be more flexible and stretchy from the start, I use foundation stitches. Although foundation chains don’t stretch as much, they can still be used in this pattern. If you choose to chain, I suggest using a larger hook for the chains and then switching to the recommended hook size in the pattern for the rest of the project.
Crochet Scarf with Fringe Pattern
Please scroll down for the free crochet scarf pattern. If you prefer a more detailed and printable version with step-by-step photos and written instructions, you can purchase the ad-free PDF version from my Etsy or Ravelry stores.


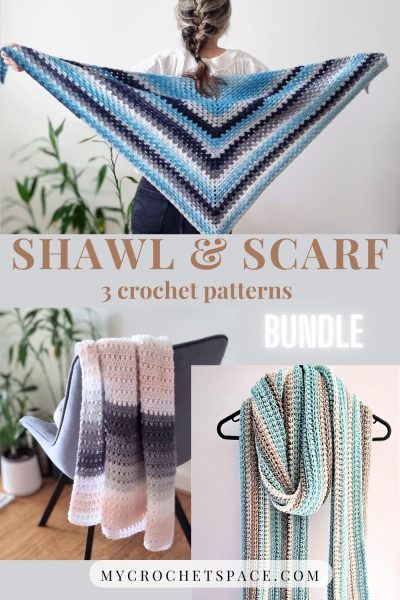
And if you’re looking for even more patterns for a great value, consider getting the shawl & scarf bundle which includes the Aquamarine Triangle Shawl, Primavera Rectangular Shawl, and Ocean Breeze Scarf! You can find the bundle on Etsy here.
Skill level
Easy / Intermediate
Dimensions
Length, without the fringe: 75″ (190 cm)
Fringe: approx. 5″ (13cm)
Width: 8.5″ (22cm)
Gauge
12 Sts x 13 rows in pattern = 4″ (10cm)
Materials
Caron Cotton Cakes by Yarnspirations (medium weight #4, 60% Cotton, 40% Acrylic. 3.5oz/100g, 211 yds/193 m)
Colour: Beachglass
Skeins: 3 (use approx. 2.5 skeins for the scarf, and the rest for the fringe, if desired.)
Crochet hooks: 6mm (J-10) for the foundation chain (or foundation HDC) and 5mm (H-8) for the rest of the scarf.
Scissors.
Abbreviations
Ch = chain
St(s) = stitch(es)
HDC = half double crochet
BLO = back loop only
Pattern Notes
The scarf is worked lengthwise.
You can start with a foundation HDC or a foundation chain + first row.
The Ch 1 at the beginning of a row does not count as a stitch.
You can make a shorter/longer scarf by chaining less/more.
You can make a wider or narrower scarf by working more or less rows.
You can make a shorter/longer fringe or no fringe at all, as desired.
Crochet Scarf with Fringe Written Instruction
If starting with foundation half double crochet stitches:
With the 6mm crochet hook, make 217 foundation HDC stitches. Continue to Row 2.
If starting with a foundation chain:
With the 6mm crochet hook, chain 219. Work a HDC in the third Ch from hook and in every Ch to the end of row. (217)
Row 2 – 28 or until you reach your desired width. (If making a fringe, make sure you have approx. 0.5 skein of yarn left for the fringe)
Ch 1, turn. Work HDC in BLO of the first St, and every St across the row. Make sure not to skip the very last stitch! You should have the same number of stitches in every row. (217)
When you reach the desired width of your scarf, fasten off and cut yarn leaving approx. 6″ long tail which can be incorporated inside the fringe.
If not having a fringe, weave in the end.
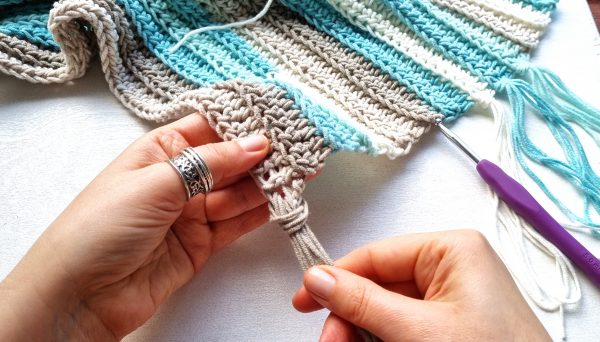
Adding a Fringe
The scarf has 14 tassels on each side, one for every 2 rows. If you have more or fewer rows, adjust the number of tassels to fit the width of your scarf.
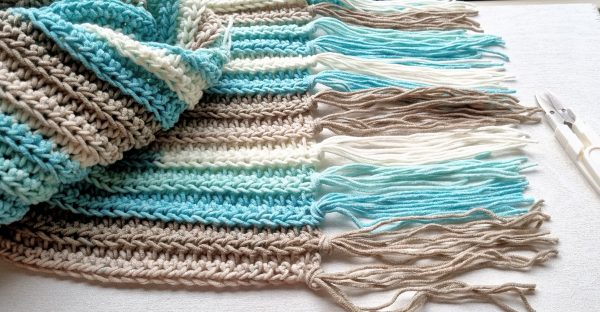
I have chosen to match the colour of the tassels to the rows they are attached to. But it doesn’t need to be! After you cut all the pieces, you can evenly distribute all the different colours in each tassel.
- Cut 4 pieces of yarn 12″ long for each tassel.
- Fold the 4 strands of yarn in half to form a loop. Insert your hook into the spot where you want to attach the tassel and pull all strands of yarn through.

Take the end of the tassel and pull it through the loop. Pull tight to secure the knot.
Repeat with all tassels.
The fringe length is approx. 5″ long when attached to the scarf.
When all tassels are attached, cut the fringe straight to your desired length.
I hope you like this pattern and enjoy making your scarf! You can get a printable PDF version of this pattern from my Etsy store here or from Ravelry here. There is also a matching scarf & headband pattern set available!
If you make any of my patterns – I would love to see them! Share them on Instagram and tag me @my_crochet_space!
More Free Crochet Scarf Patterns
- Crochet Moss Stitch Scarf
- Crochet Knit-Look Infinity Scarf
- Crochet Men’s Scarf Cool Ombre
- Crochet Triangle Shawl – Aquamarine Joy
- Crochet Easy Cowl Pattern
- 25 Crochet Men’s Scarf Patterns
- Alpine Charm – One Skein Crochet Cowl
4 replies on “Ocean Breeze Crochet Scarf with Fringe”
Thank you so much for this pattern! I made a scarf for my mother and I love how it turned out!
You’re very welcome! I’m so happy to hear you enjoyed it! 😊💕
I love how it turned out using Bernat Blanket yarn and a size N crochet hook. However, I didn’t make my foundation chain long enough and it is about 8 inches too short. I don’t want to put a fringe on it. Is there any way I can add to the length?
I don’t really know a way to make it longer and keep it looking seamless. If it ended up too short to wear as a scarf, I’d probably just turn it into a cowl by sewing the short ends together. 😊