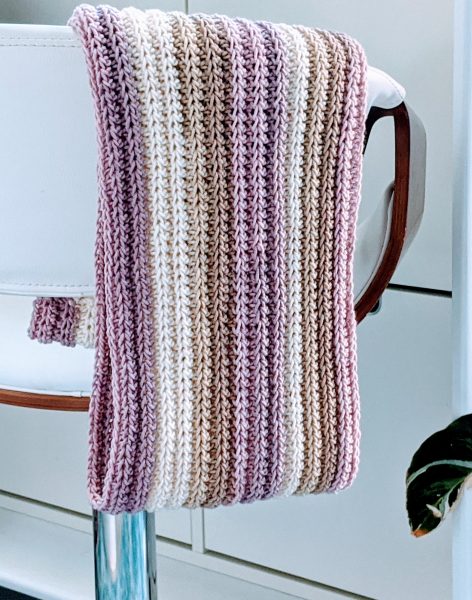
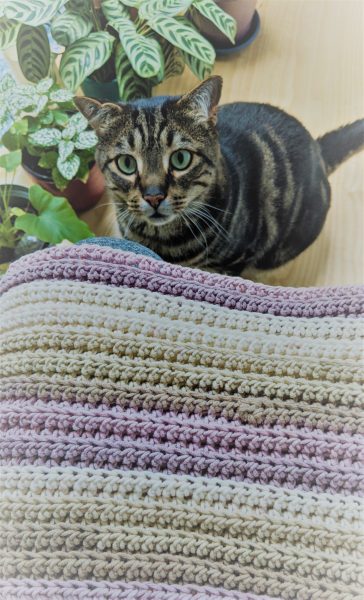
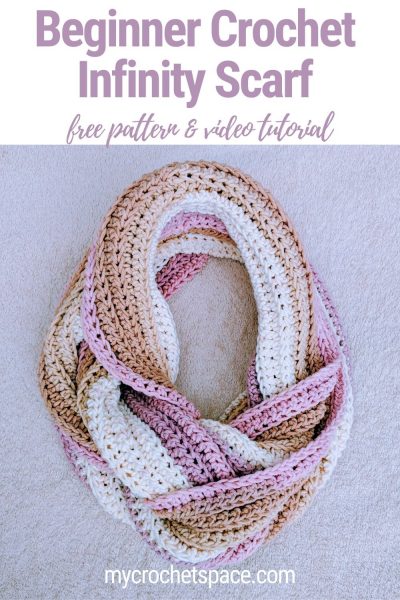
Are you looking for an easy and relaxing crochet project? This infinity scarf has that cozy knit-look texture, it’s soft, squishy, and so much fun to make!
I used Caron Cotton Cakes for this scarf, the same yarn I used in my Ribbed Scarf, for a couple of reasons. First, I was curious to see how different the two scarves would turn out just by changing the stitch pattern. And second, I really enjoyed working with this yarn the first time and luckily had just enough left for another scarf!

I also used Caron Cotton Cakes in a different shade for my Ocean Breeze Scarf with Fringe. The yarn feels so velvety and is really enjoyable to work with, and I couldn’t be happier with how this scarf turned out. It’s soft, squishy, and just so cozy!
I’ve got a short 4-minute video demo for you below, you can watch it, or just scroll down to the written pattern if you prefer.

This scarf is worked in the round. After round 1, you’ll turn at the end of each round and continue in the opposite direction.
If you’re using a solid-colored yarn, you can also work it in straight rows back and forth, then sew the two ends together with a yarn needle.
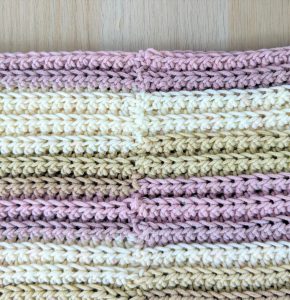
But since this yarn has multiple colours, sewing the ends would leave a more noticeable seam. Working in the round helps the seam blend in much better, see photo below.

Infinity Scarf Crochet Pattern
Materials
- Yarn: Caron Cotton Cakes from Yarnspirations, 2 skeins in colour Rose Whisper
- Hook: 5mm (and 6mm for the foundation chain)
- Yarn needle
- Scissors
- Measuring tape
Dimensions
19cm width x 132cm circumference (7.5” x 52”)
Gauge
13 stitches x 15 rows in BL HDC = 10cm (4″)
Abbreviations
- Ch = chain
- St = stitch
- Rnd = round
- HDC = half double crochet
- BL HDC = back loop half double crochet
Pattern Notes
- This scarf is worked in the round, joining each round with a slip stitch and then turning before starting the next round.
- I like to use a larger hook size for the foundation chain, since it helps the chain stretch evenly with the rest of the scarf. Foundation chains often turn out a little tighter otherwise.
- You can easily customise your infinity scarf. Just adjust the number of chains for the length, and the number of rounds to make it wider or narrower.
Infinity Scarf Written Instructions
Ch 180 or until you reach 52″ using the 6mm hook.
Change to a 5mm hook and connect the first and last chains with a slip stitch to form a circle. Straighten the chain before connecting it, so it’s not twisted.
Rnd 1: Ch 1, HDC in first chain from hook (I use the back bumps to create a nicer edge) and across. Connect with a slip stitch and turn. (total 180 sts throughout the pattern)
Rnd 2: Ch 1, BL HDC in the first St from the hook and across, connect with sl st. Turn.
Rnd 3-30: repeat round 2.
You can make more than 30 rounds if you want to make your scarf a little wider. Or if you’re using a thicker yarn, you may not need 30 rounds. You can check the progress as you go and adjust the number of rounds according to the yarn you’re using.
Fasten off and weave in all ends.
Crochet Infinity Scarf – Video Demonstration
I would love to hear from you in the comments below how you like this pattern!

2 replies on “Crochet Knit-Look Infinity Scarf”
Have you tried the invisible slip stitch, that takes alot visually away from the seam. I can’t remember who’s blog it was but there was a utube for it.
Hi Debbie, oh yes the invisible slip stitch would probably work even better! Thanks for the tip, will definitely try it out on my next infinity scarf. ❤️