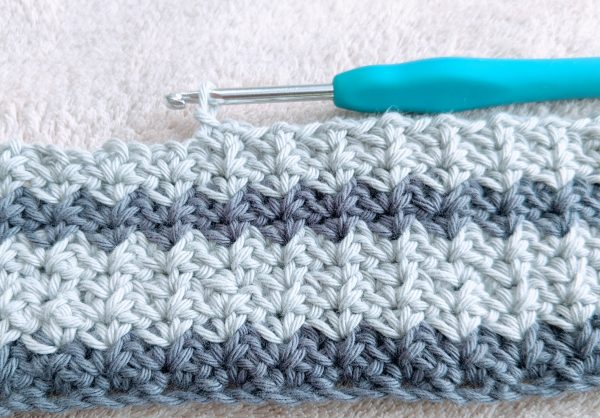
The crochet Spider stitch is quite a dense and sturdy stitch which makes it great for things like potholders, washcloths or bags.
I used the Spider Stitch to make a potholder and it works really well. You would need to make two squares and stitch them together to make the potholder thicker. While the Spider stitch is a dense stitch and can be used for potholders, it’s not as thick as the Thermal Stitch which is in my opinion the best stitch for crochet potholders.
But I quite like the Spider stitch, I think it’s an interesting looking pattern. And making a potholder is a great way to practise this crochet stitch before you use it for bigger projects, like blankets. 🙂
Crochet spider stitch uses basic stitches (single crochet and chain stitches) in a specific order to create an interesting stitch pattern. Although it’s an easy crochet stitch, it may require some practice to perfect.
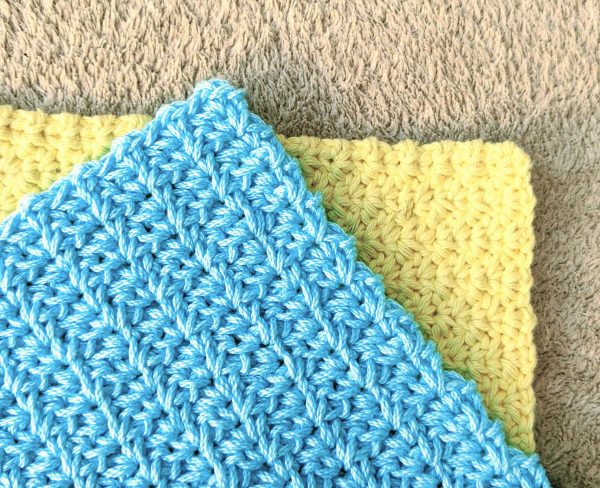
Spider Stitch Crochet Use Ideas
The Spider Stitch crochet can be used to create a variety of projects such as
- Washcloths/dishcloths
- Potholders/ hot pads
- Towels (Kitchen towels, hand towels, dish towels)
- Accessories (Bags, laptop cases, clutches)
- Home decor (Wall hangings, blankets)
How to crochet the Spider Stitch
The Spider Stitch consists of: 1 single crochet + chain one + 1 single crochet worked into the same stitch (SC+Ch1+SC). All the stitches apart from the very first row are worked into the Ch 1 space of the previous row.
Crochet Spider Stitch Instructions:
- Start with a foundation chain in multiples of 2.
- Insert the hook into the second chain from the hook and work a single crochet (SC), chain 1, and another SC in the same chain (this is the spider stitch).
- Skip the next chain and work another spider stitch (SC, Ch1, SC) into the following chain. Repeat this pattern across the row.
- Turn your work, but do not chain.
- Work a spider stitch into each Ch1-space across the row.
- Repeat steps 4-5 to create the Spider Stitch pattern.
- Make sure to always work into the Ch1-space from the previous row to maintain a consistent pattern.
The trickiest part here is to identify where that Ch 1 space is and where the next stitch should go. You would expect to see a bigger gap between the single crochet stitches because of that chain-1-space, but it’s actually not the case. (You can watch the video below for more visual guidance)
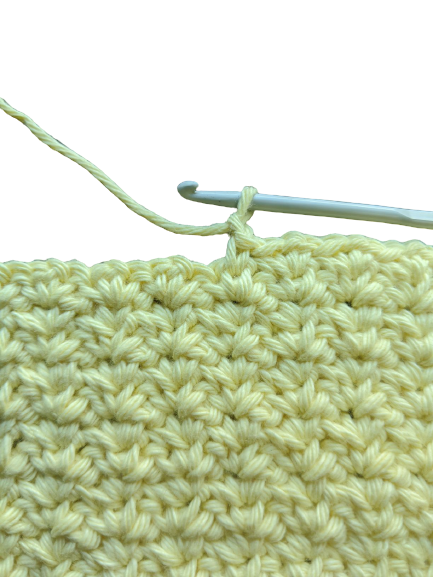
But once you’ve completed the first couple of rows and become more familiar with the spider stitch, it will be easier to identify those Ch1 spaces.
Spider Stitch Crochet – Free Potholder Pattern
Materials:
Yarn: I used 100% cotton yarn (8 ply/DK/Light Worsted #3)
Crochet Hook: 4mm (G-6)
You can also use worsted weight #4 yarn with the 5mm crochet hook. You’ll need to adjust the number of stitches to your desired size.
You can use any 100% cotton yarn with a matching hook size.
Dimensions:
This potholder measures 8” x 8” (20cm x 20cm)
Abbreviations (US Terms):
Ch = chain
SC = single crochet
St(s) = stitch(es)
Sp St = Spider Stitch (single crochet + chain 1 + single crochet into the same stitch).
Pattern Notes
This pattern does not require you to chain in the beginning of a row.
You can make a bigger/smaller potholder by chaining more/less (any even number) and working any amount of rows until you reach your desired size.
Spider Stitch Crochet Potholder Written Instructions:
Ch 30 (or any even number)
Row 1: Sp St in the second chain from the hook (you can watch a video demonstration). Then skip 1 chain and work a Sp St into the next chain. Continue until the end of the chain, working Sp Sts into every second chain. Turn.
Row 2: Sp St into Ch-1-space from the row below. Work Sp Sts into every Ch-1-space until the end of the row. Turn.
Row 3-36 or until you reach the desired size: Repeat Row 2.
Loop: After you finish your last row, chain 20 to make a loop and work a SC into the same stitch. Fasten off and weave in the ends.
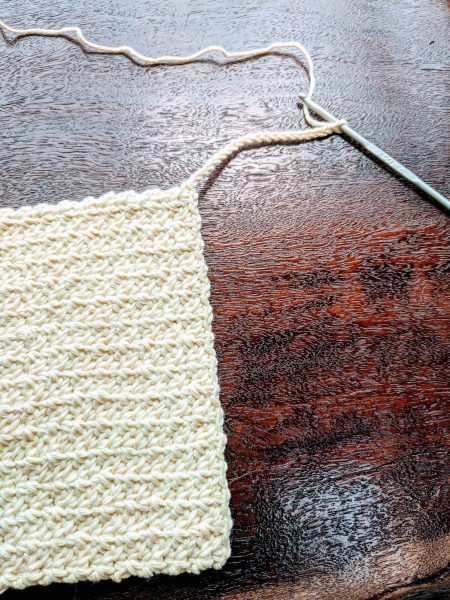
Done!
Work as many spider stitch rows as you need to reach your desired size. Important is to remember that you always work into that Ch-1-space from the row below so the pattern will look consistent.
Note: In the beginning, it can be a little tricky to find that Ch 1 space. What I did to make sure I’m working into the right space is to find those two single crochets worked into one stitch in the previous row. To me it looked like two letters ‘V’ tilted in opposite directions. Or you can see 4 strings of yarn coming out of that stitch. Insert the hook right in the middle, between those two V stitches (between the second and the third string of yarn) that’s the Ch-1-space.
While the Ch-1 space should provide more room between stitches, it seems like the opposite is true. It may seem like there’s less space and your hook may accidentally go into one of the single crochet stitches instead of the Ch-1 space. Paying attention is important to avoid this mistake and have your spider stitches evenly distributed. 🙂
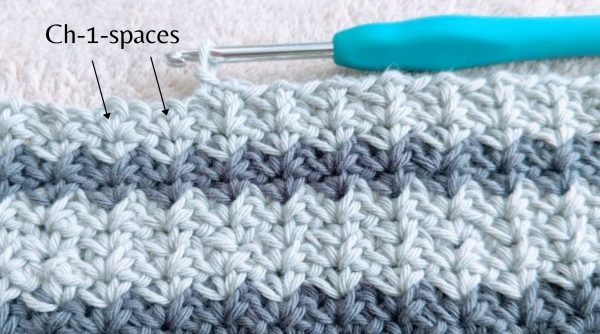
TIP to make your Spider Stitch crochet pattern look consistent: When inserting your hook into the Ch-1-space, make sure your hook doesn’t accidentally go into the SC stitch on it’s way out on the other side. I’ve made this mistake a few times until I realised that some of the spider stitches are not perfectly aligned. So, even though I was inserting the hook in the right spot, on the reverse side it was coming out slightly to the side, in the middle of the next SC stitch (you can watch the video for more clarity).
I hope you enjoyed making this potholder! Let me know in the comments below if you liked it and what you’re going to make next using this stitch!
Spider Stitch Crochet Video Tutorial
Let me know in the comments what you think of the crochet Spider stitch and the potholder pattern! Do you find the spider stitch easy or tricky? What would you use this stitch for?

Free Crochet Tutorials
- Moss Stitch Crochet Tutorial
- Herringbone Half Double Crochet Washcloth
- Even Moss Stitch Crochet Tutorial
- How to Crochet the Crumpled Griddle Stitch
2 replies on “Crochet Spider Stitch Potholder”
Outstanding pattern description thank you very much.
Thank you, Lynne! 🙂