If you’re looking for inspiration to add a pop of colour, texture, and fun to your table, then these coasters are just what you need!
The Smock stitch, also known as the Honeycomb crochet stitch, is a delightful and eye-catching pattern that’s brimming with rich texture.
You can learn a new crochet stitch, showcase your skills, and make something useful for your home!
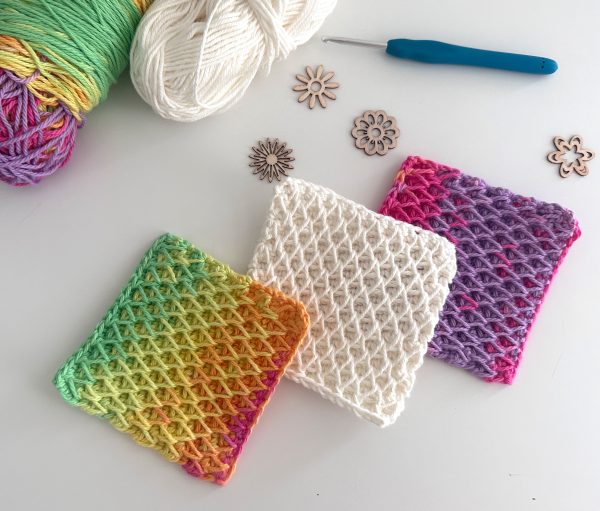
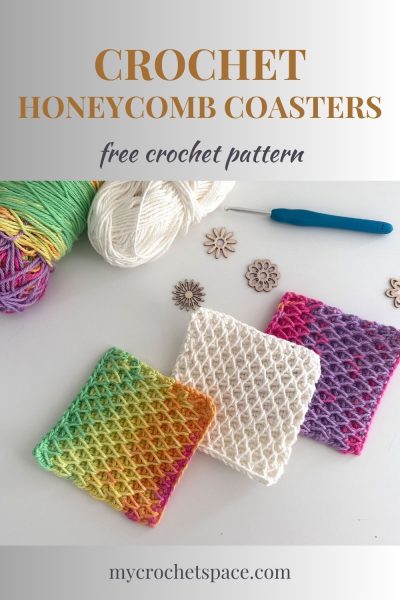
I made these coasters using bright and gorgeous summer colours, but you can choose different colours to suit your current season and mood.
They look gorgeous in any colour, whether you use a solid colour or variegated yarn. The choice is up to you!
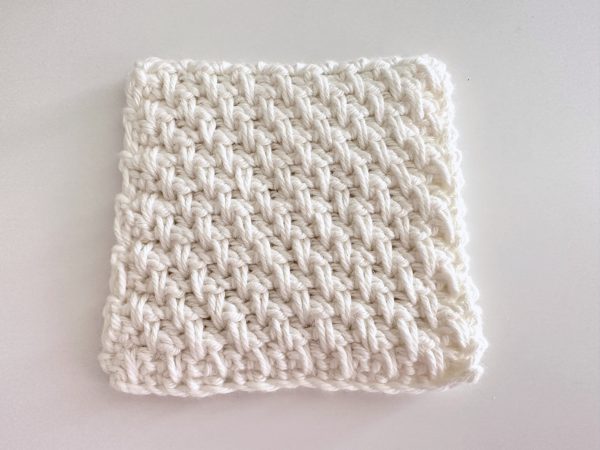
Normally, I tend to lean towards solid colours for textured stitches. I think that solid colours allow the texture and stitch definition to shine, and you can fully appreciate the design’s intricacy.
However, in this case, I believe both solid colours and multicoloured variations look equally impressive, don’t you think? 🙂
Crochet Smock Stitch (Honeycomb Stitch)
The Smock crochet stitch is also known as the Honeycomb crochet stitch. It looks similar to the Tunisian crochet Smock stitch. But this version is not a Tunisian technique. So, if you don’t know how to do Tunisian, you don’t have to! We will use a regular crochet hook to create this stunning texture and work the stitches in a four-row-repeat pattern.
Difficulty
Intermediate. It’s not difficult to learn the Smock stitch. Mainly, you need to remember the order of rows and be able to see and recognise the stitches clearly. If you know how to crochet the single crochet, and you have experimented with other modifications of the single crochet, such as Spike stitches or single crochet two together, then you can do it.
Like with most intricate stitch patterns, attention is the key! If you’re a beginner, just take your time, read all pattern notes, examine the photos and you’ll find it even easier than you think!
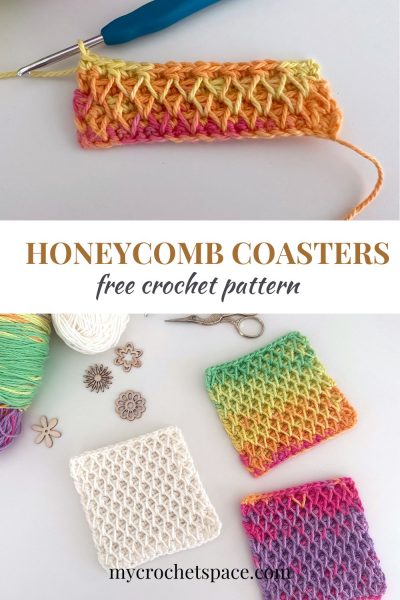
Honeycomb Crochet Stitch- Free Coaster Pattern

Or pin this crochet coaster pattern to your Pinterest Crochet Board for later!
Materials
- You can use any 100% cotton, light worsted weight yarn #3/DK/8ply yarn. (I used Abbey Road Freedom, colour: Tutti Frutti)
- Crochet hook 4mm
- Scissors
- Yarn needle
Dimensions
4″ x 4″ (10cm x 10cm)
Gauge
9 stitches x 13 rows = 4″ (10cm)
Abbreviations (US Terms)
Ch = chain
St = stitch
SC = single crochet
Sp St = spike stitch
SC2tog = single crochet 2 together
Special Stitches
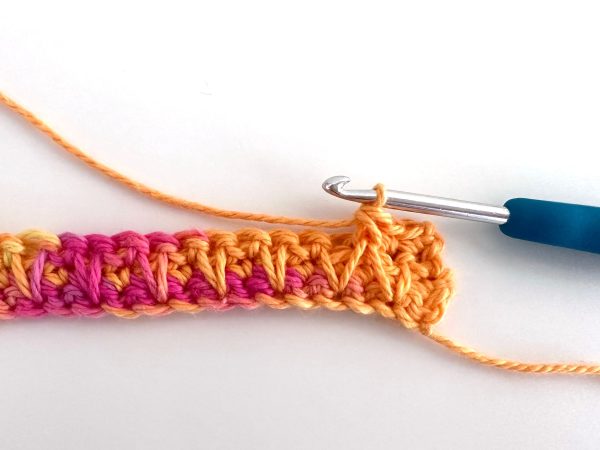
Spike stitch (Sp St): Insert hook into the stitch two rows below the current row and work a single crochet (refer to photos for row 3).
Single crochet two together (in this pattern): insert hook behind one strand of yarn of the Sp St and around the other strand of the next Sp St, work a single crochet (refer to photos for row 4).
Honeycomb Coasters Pattern Notes
- This crochet coaster measures 4 inches wide and 4 inches long. The size can be easily adjusted by chaining more or less for your foundation chain (any even number of chains) and working more or fewer rows.
- Ch 1 at the beginning of a row is a turning chain and does not count as a stitch.
- Count after each row to ensure you haven’t skipped any stitches! You should have the same number of stitches in each row.
Honeycomb Crochet Coasters Written Pattern
Ch 18 or any even number of chains until you reach four inches.
Row 1: SC in second Ch and across the row (17 in every row).
Row 2: Ch 1, turn. SC in first St and across. Ch 1, turn.
Row 3: SC in first St, Sp St in next (two rows below). Alternate SC and Sp St across the row. Sc in last stitch, Ch 1 and turn.


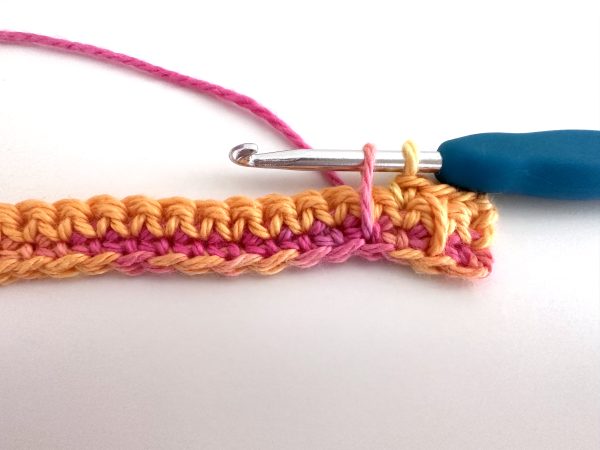
Row 4: SC in first St, SC in next, SC2tog (see photo below), SC in next St, repeat [SC2tog in next, SC in next] across the row, SC in last St. Ch1 and turn.
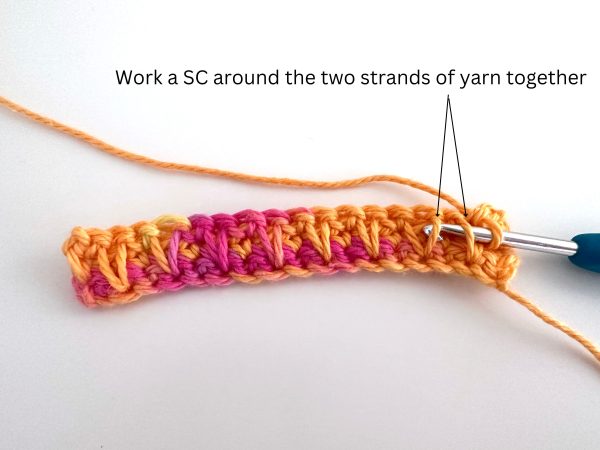
Note: When you look at the spike stitches, they resemble the letter V. You need to connect one leg of one V with another leg of the next V.
Row 5: Sp St in first, SC in next, repeat [Sp St in next, SC in next] across the row. Sp St in last St. Ch 1 and turn.
Row 6: SC in first, repeat [SC2tog in next, SC in next] across the row. SC in last St. Ch 1, turn.
Row 7-26 (or until you have a square coaster): repeat rows 3-6.
The Honeycomb stitch texture isn’t reversible, but the other side is just as pretty. It doesn’t have a raised texture, but it features Spike stitches and is a lovely pattern. Depending on your mood, you can use either side for different textures! 🙂
I hope you like the Smock aka Honeycomb stitch! There are so many uses I can think of for this honeycomb texture, like making potholders because it creates such thick fabric. A throw would also look very pretty! I would use a different type of yarn for a throw to make it softer and create a nice drape, like in this throw with a different stitch but also very textured!
Enjoy, and Happy Crocheting!
More Crochet Stitch Tutorials
- Alpine Stitch Crochet Tutorial
- Even Moss Stitch Crochet Tutorial
- Suzette Stitch Crochet Tutorial
- Crochet Thermal Stitch
3 replies on “Honeycomb Crochet Coasters”
Hi Olga, I really love the honeycomb stitch and that the fabric is reversible. I never realized how easy it was to crochet the honeycomb stitch. Your finished coasters are very pretty.
Thank you for linking up at our weekly Link Party! You are being featured at our Wednesday
Party #515 this week. Here’s the direct link to the post in case you’d like to share your feature:
https://oombawkadesigncrochet.com/honeycomb-stitch-coasters-mason-jar-covers-brioche-crochet-daisy-hexagons-link-party-515/
Hope to see you again next week! Rhondda
noice! This is so easy to crochet.
I’m glad you find it easy! 😊