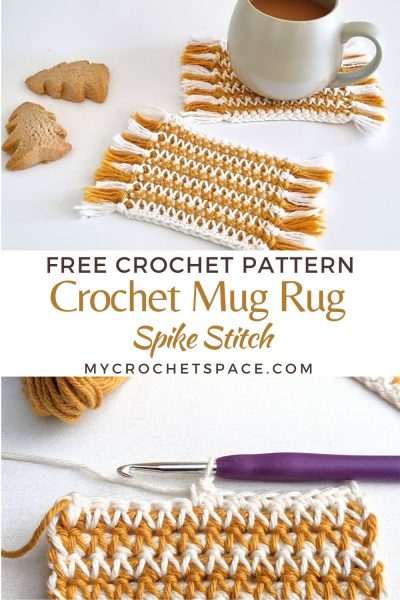
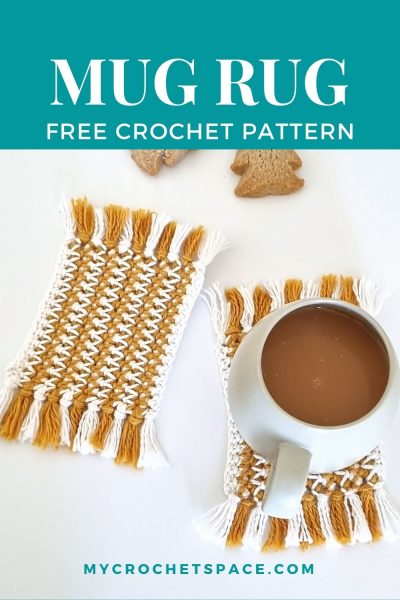
Looking for a quick crochet project? This Crochet Mug Rug is a super easy and quick make. It uses very little yarn and you can use up your leftover yarn from previous projects.
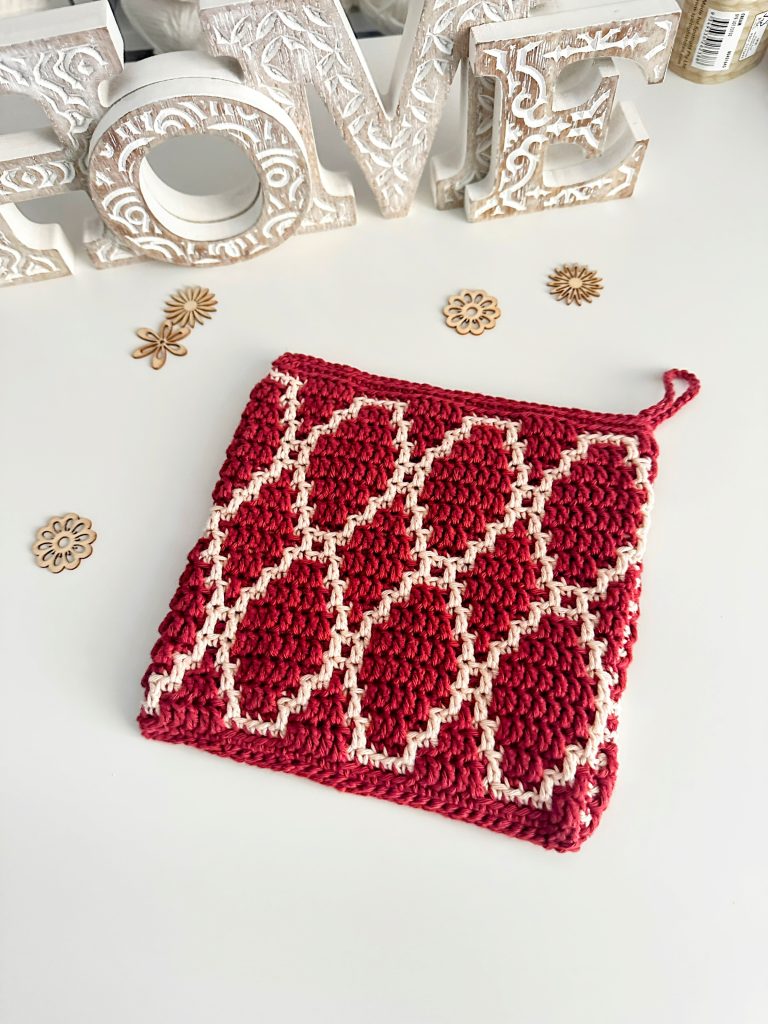
As in my Apache Tears Crochet Mug Rug pattern – this pattern requires two contrasting colours which highlights the different type of stitches. Both mug rugs are very easy to crochet. All you need for this project is some yarn in two contrasting colours, crochet hook and scissors.
This post may include affiliate links, view my disclosure policy for details.
I used cotton yarn, worsted medium weight (4). But you can use any type & thickness of yarn you like.
This pattern is also available as a printable PDF and you can get it from my Etsy shop or on Ravelry.
About the Stitch – Crochet Spike Stitch
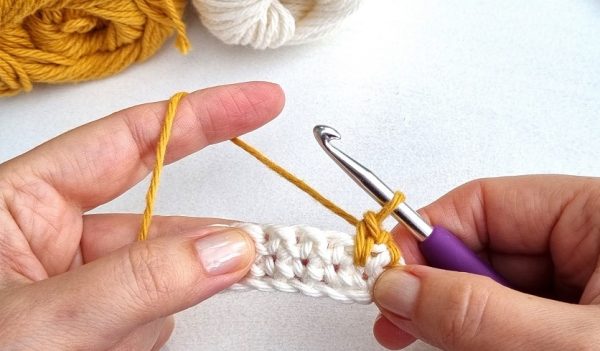
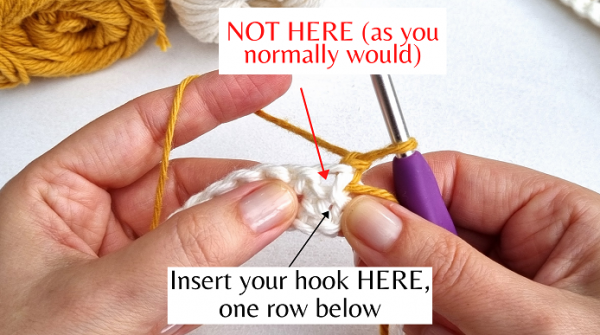
This Spike Stitch (also known as Single Crochet Spike Stitch) looks complicated but it really isn’t. In a nutshell, it’s a stitch (in this pattern we use single crochet stitches) that is worked exactly like a single crochet but not into the current row (what you normally do) but in the row below. This creates the elongated look, or the spikes.
You can also make those spikes different lengths. For example, you can drop down two, three or even four rows. The more rows you drop down the longer the spikes will be.
And to highlight those spikes even more, use a contrasting colour. The Spike stitch is a very popular stitch for blankets, such as this adorable blanket. There you can see the spike stitches in different lengths!
There are so many different variations of this stitch! Working with different colours, different lengths and order of the stitches you can create so many different looks. It would look great in blankets, beanies, scarves, jumpers /sweaters, socks…. Well, anything really!
If you like to know more about the Spike Stitch, there is a detailed stitch tutorial on the Spruce Crafts website. There you can find more photos and variations on how to crochet the Spike Stitch.
Crochet Mug Rug Pattern
Scroll down for the free pattern or get the ad-free & print-friendly version with step by step photo and written instructions for a small fee from my Etsy or Ravelry stores.


Skill level
Easy
Dimensions
4.5″ x 4″ (12cm x 10cm) without the fringe
Gauge
7 stitches x 11 rows in pattern = 2″ (5cm)
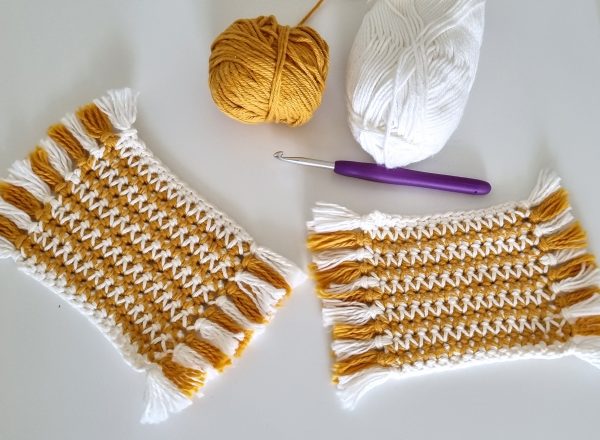
Materials
Yarn: 100% Cotton yarn, worsted/ medium weight #4 (I used Finch Fiddlesticks 10 ply)
Colours: Ecru (first colour) and Mustard (second colour)
Crochet Hook: 5mm /H-8
Scissors, measuring tape.
Abbreviations (US Terms)
Ch = chain
St(s) = stitch(es)
SC = single crochet
Sp St(s) = spike stitch(es)
MC = main colour
CC = contrasting colour
Special Stitches
Spike Stitch (in this pattern) = insert hook into specified stitch in the row below the current one and work a single crochet.
Pattern Notes
- You can use any type of yarn – I prefer cotton or cotton blend.
- Mug rug is worked lengthwise, you can adjust the length of your mug rug by chaining more.
- You can adjust the width of your mug rug by adding more rows.
- You can make shorter or longer fringe as desired.
- Pick your own favourite colours!
Crochet Mug Rug Instructions:
Ch 16 with your main colour (I started with Ecru – which looks white)
Row 1: SC in third Ch from hook and across the row (total 14 Sts).
Row 2: Ch 1, turn. SC in first and across the row. Change to CC in the last St. (14)
Row 3: With your CC, Ch 1 and turn. In this row we work Spike Stitches across the whole row: Insert your hook in the first St of the row just below the current one, and work a SC as normal. Continue working Sp Sts across the row. (see picture below)
Row 4: Ch 1 and turn. Sc in first and every St across the row. Change to MC in last St.
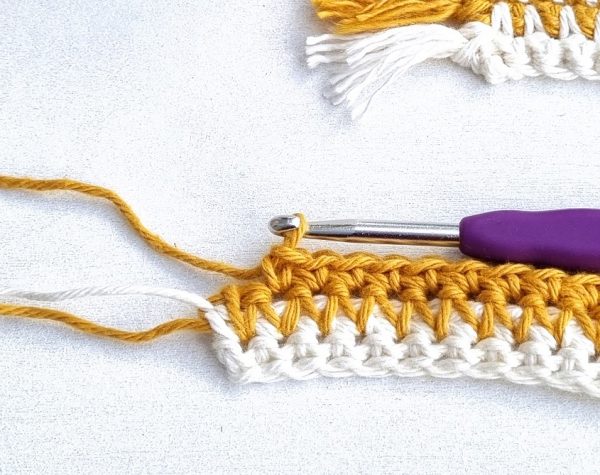
Row 5: with your MC, Ch 1 and turn. Work Sp Sts in first and across the row.
Row 6: Ch 1 and turn. SC in every St across the row. Change to CC in last St.
Rows 7-22 (or your desired size): repeat rows 5 and 6, changing colours every 2 rows.
Note:
Always change colour in the last St of a row (every 2 rows).
As soon as you change to a different colour and turn, work a Spike St row. After a Sp St row work a SC row. Alternate between the two rows.
When you reach the desired width of your mug rug, fasten off.
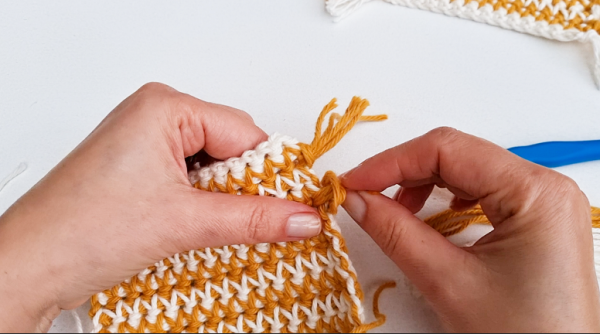
Adding a Fringe to Mug Rug
To add a fringe, cut 2 pieces of yarn 4″ long in each colour. I used two pieces of yarn per colour stripe on each side.
Fold the 2 strands of yarn in half to form a loop. Insert your hook into the spot where you’d like to add the tassel and pull all strands of yarn through.
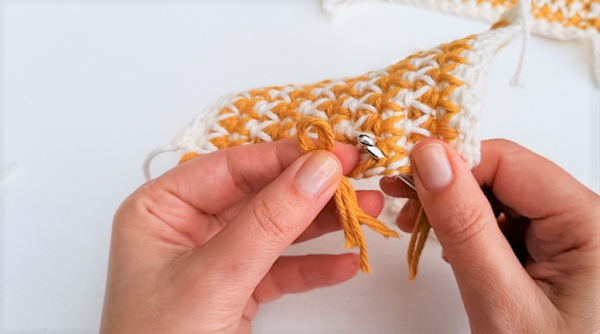
Take the end of the tassel and pull it through the loop. Pull tight to secure the knot.
Repeat with all tassels. Done!
Hope you enjoyed making this Crochet Mug Rug with me! You can get the printable PDF version with detailed photo tutorial for each step from my Etsy shop or on Ravelry.