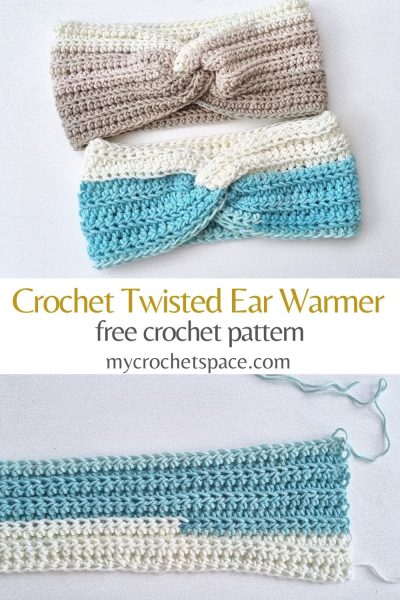
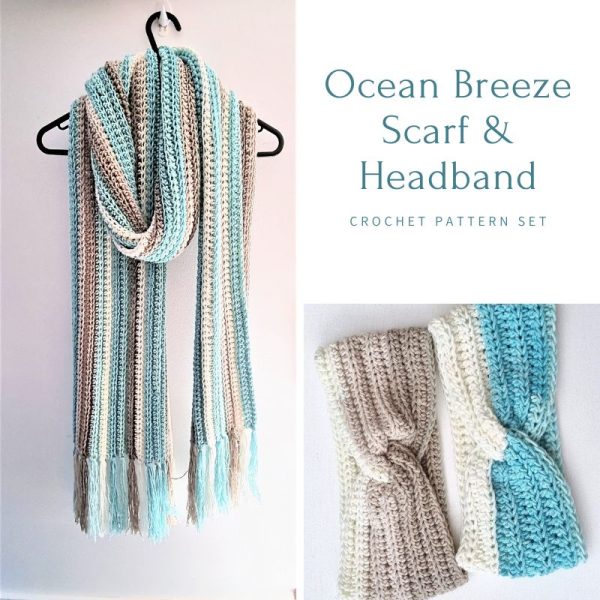
I recently made the Ocean Breeze Scarf with Fringe using Caron Cotton Cakes yarn. I loved working with this yarn and as I still had some yarn left I decided to make a couple of matching crochet headbands.
You can get an ad-free PDF from my Etsy store or scroll down for the free pattern!
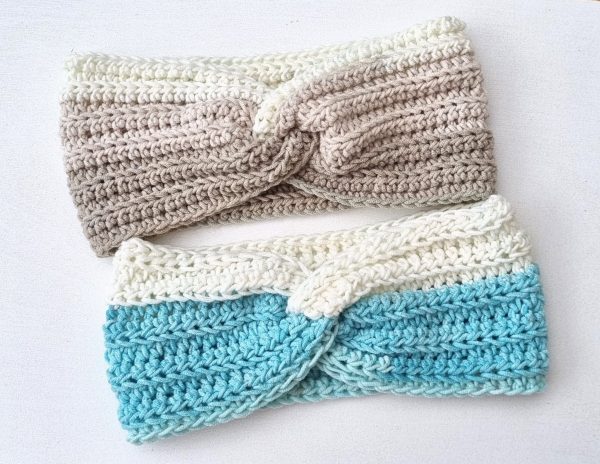
If you ever look for some gift ideas – crochet ear warmers make great crochet gifts. They are easy and very quick projects that you could make in under an hour. Plus, they are practical, keep your ears warm and just look cute!
They are also a great way to use up all your leftover yarn from previous crochet or knitting projects!
About the yarn
I used Caron Cotton Cakes yarn for these crochet ear warmers. It’s a medium worsted #4 yarn, 60% Cotton and 40% Acrylic.
I like how soft and velvety the feel of this yarn is. It creates such a beautiful stitch definition. Plus, you don’t need to worry about the colour changes as the yarn is doing it for you. This is a huge relief for beginners and anyone who is not a fan of changing colours manually and weaving in hundreds of ends.
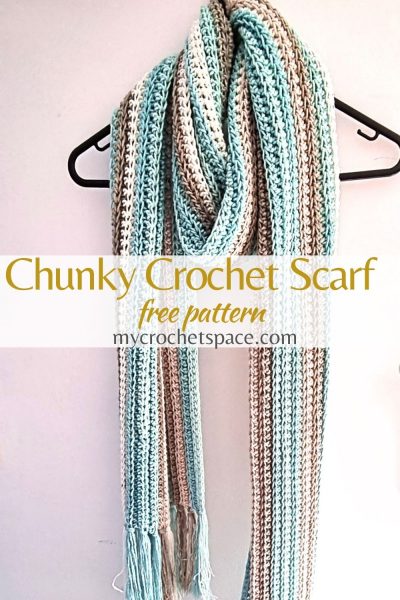
Here is the Ocean Breeze Crochet Scarf I made using Caron Cotton Cakes. This would look beautiful together with those ear warmers!
This post may include affiliate links, view my disclosure policy for details.
I also made a Crochet Knit-Look Infinity Scarf using this yarn, in a different colour.
But you can use any worsted weight yarn (#4) in your favourite colour. You may need to adjust the number of chains for your foundation chain if you’re using a different type of yarn.
As with all handmade items, every person has a different tension and a unique way of crocheting. So, even if you use the same brand & type of yarn, the finished item will look slightly different and that’s what makes it so special!
Difficulty level
Easy! This crochet headband pattern is an easy and quick make. If you know how to crochet the basic stitches such as Half Double Crochets you won’t have any problems!
How to Make the Right Size – Crochet Headband
To make a crochet headband that fits perfectly, measure your head circumference and deduct 2 inches from that number. That’s the length of your headband (and your foundation chain) you should be aiming for.
For example: for a 22″ head circumference, chain an amount until your foundation chain measures 20″.
Generally, the finished size of your headband should be 2-3 inches less than your head circumference as the headband will stretch. But depending on the type of yarn, type of stitch and your tension it will stretch differently.
Average Head Circumference
Women: Small = 21″ (53cm), Medium 22″ (56cm), Large 23″ (58.5cm)
Men: Small = 22″ (56cm), Medium 23″ (58.5cm), Large 24″ (61cm)
For child/teen sizes see a detailed chart on Craft Yarn Council’s website.
Crochet Headband Free Pattern
Please scroll down for the free pattern or get the ad-free & print-friendly version with step by step photo and written instructions for a small fee from my Etsy or Ravelry stores.
Or get the matching Ocean Breeze Scarf & Headband as a set!
Material:
- Caron Cotton Cakes by Yarnspirations (medium weight #4, 60% Cotton, 40% Acrylic. 3.5oz/100g, 211 yds/193 m)
- Colour: Beachglass
- Skeins: 1 (you’ll need approx. 1/2 of a skein)
- Crochet hook: 5mm
- Scissors, yarn needle.
Dimensions:
This Headband measures 4” (10cm) wide and 20” (51cm) in circumference
Gauge:
16 stitches x 12 rows in pattern = 4″ (10cm)
Abbreviations (US Terms):
Ch = chain
St = stitch
HDC = half double crochet
BLO = back loop only
Notes:
- The pattern is using a basic stitch half double crochet worked in back loops only.
- The headband is worked flat in back and forth rows and then seemed together.
Written Instructions
Ch 80 (or until your foundation chain measures 2″ less than your head circumference)
Row 1: yarn over, insert your hook in the third Ch from hook and work a HDC. Work HDC in every chain across the row. (78)
Row 2-12 (or your desired width): Ch 1 and turn. Work HDC in BLO of the first St and every St across the row. (78)
When you reach your desired width, fasten off and cut yarn leaving approx. 30″ (75cm) long tail. We will use it to sew the ends together when making the twist.
How to Make the Twist
To sew the ends together with a twist, fold your headband in half lengthwise and arrange it in a letter U, with the open side of the fold towards the centre.
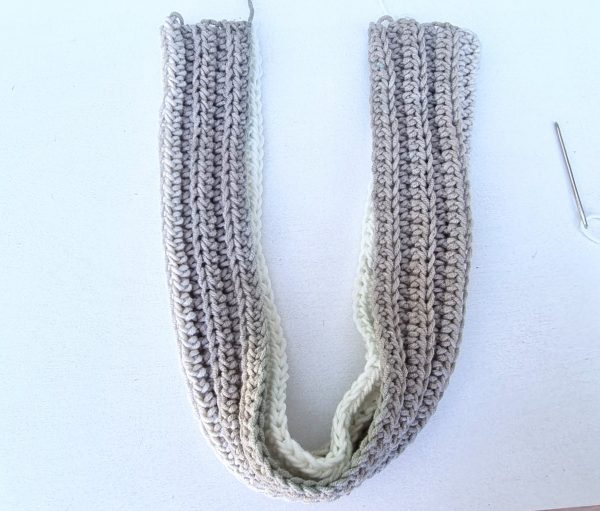
Thread the yarn needle.
Take both folded ends in each hand and insert one side of the folded end into the other. It will look like two interlocking ‘C’ shapes.
Stitch through all four layers back and forth along the edge with the yarn needle. The seam will be hidden inside after you turn the headband inside out.
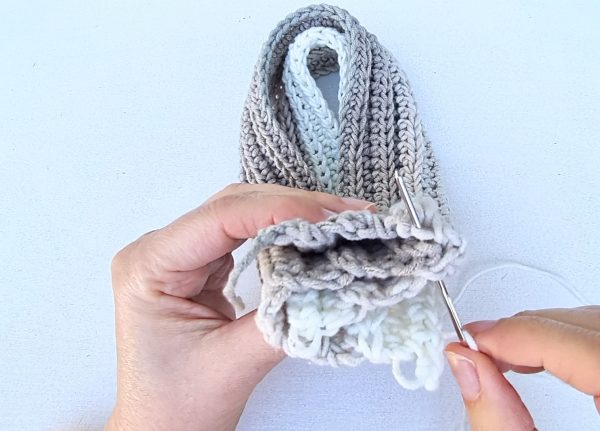
Weave in all loose ends and turn your headband inside out. Done!
For more visual guidance on how to make the twist, please watch the video demonstration of my earlier Twisted Ear Warmer/Winter Headband. (You can skip the beginning of the video as it’s another pattern and go straight to 3:50)
Get an ad-free PDF version of this pattern from Etsy or Ravelry!
